
Love the Results of Buying a New Roasting Rack?
Yes! It was much easier to set up the roasting platform for the chicken using a rack than onion pieces and/or foil balls. Also, I didn’t get my hands greasy nor worry about dripping oil or sauce while transporting the chicken to the carving board.
Below are some links to more details, including photos:
My Story
There were a couple of recipes that I had tried where I substituted a roasting rack with either onion pieces and/or crumpled foil balls or a broiler pan. Soon after, I invested in a roasting pan and rack hoping to simplify my life in the future.
Inspiring Recipe
What’s the best way to test out the new roasting pan and rack? Repeat the recipe, Oven Roasted Peking Chicken, of course! I had tried this recipe from a website called Omnivore’s Cookbook, which was shared by Joyce from Pups with Chopsticks, a food blog, a couple times before.
First Try
After buying a pack of two chickens, I was ready to go!
Ingredients to Use
With a chicken weighing 5.24 pounds, I increased the measurement for most of the remaining ingredients in the recipe and used the following:
For the chicken
- 1/2 teaspoon of five spice powder
For the marinade
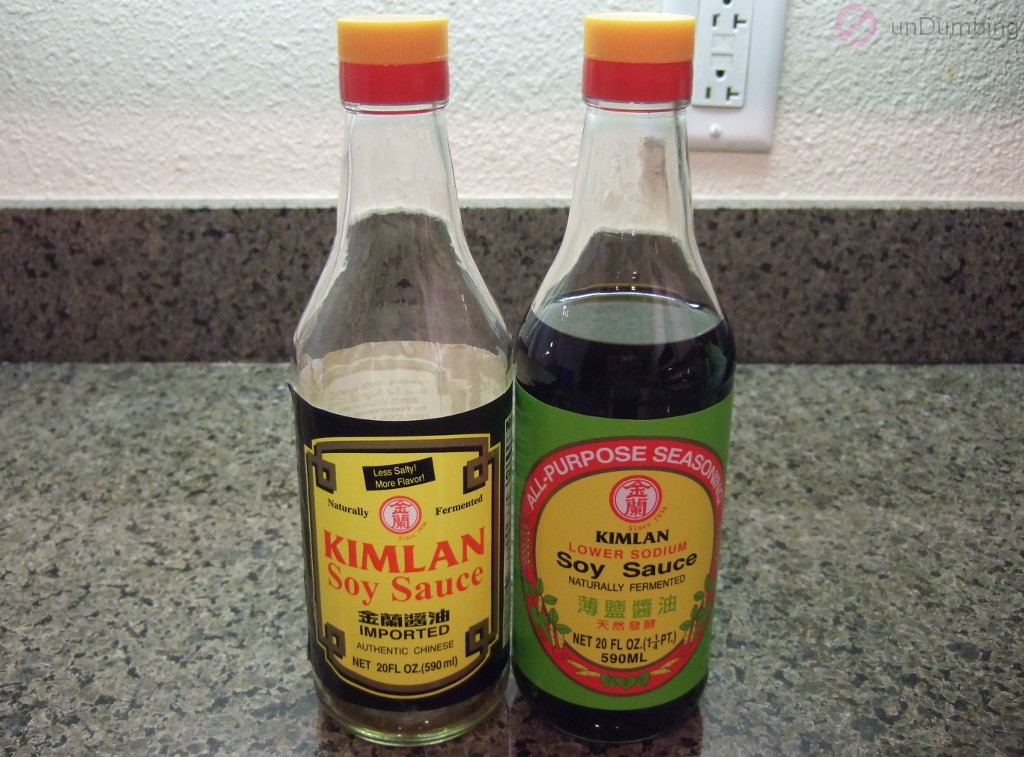
- 2 ounces + 3/4 teaspoon of light soy sauce
- 2 tablespoons + 1/3 teaspoon of dark soy sauce
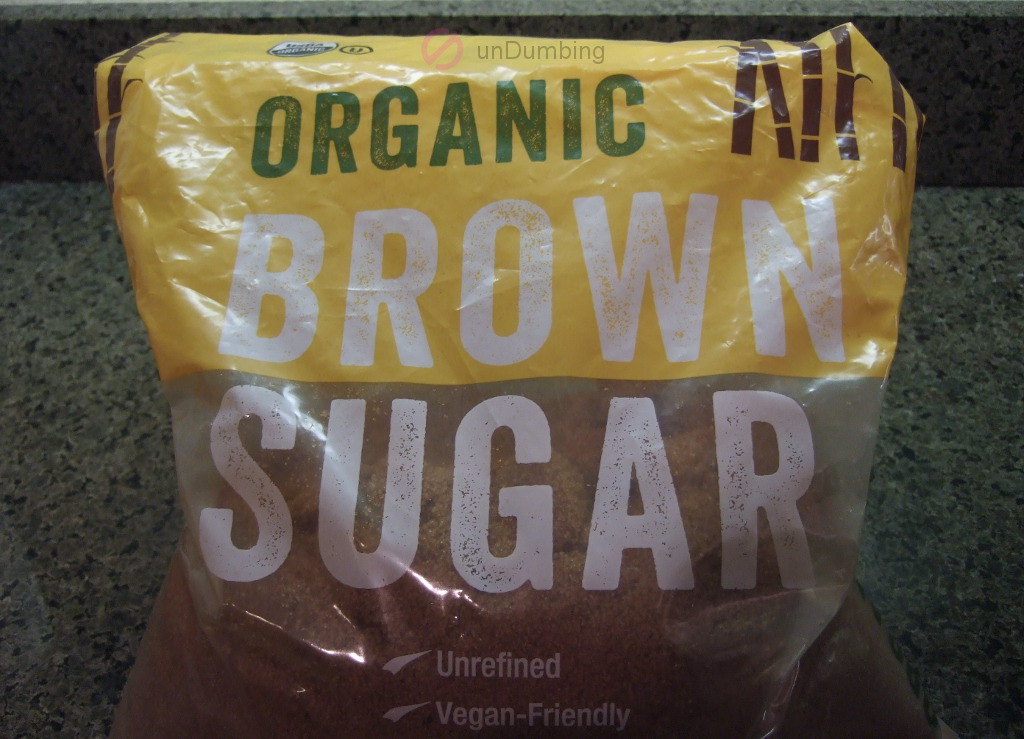
- 1 tablespoon + 1/8 teaspoon of sugar
- 5 slices of ginger
- 1 teaspoon of five spice powder
For the basting sauce
- 2 tablespoons + 3/4 teaspoon of honey
In terms of other adjustments, I had a few. First, I had replaced the light soy sauce in the cabinet with a couple of different ones since I last roasted a Peking chicken. Also, I had planned to use 6 slices of ginger, but the half-thumb piece that I got only yielded 5 slices. Lastly, because I only had brown sugar at home, that’s what I used this time.
As for the remaining ingredients, they stayed the same.
Steps to Prepare
Compared to the last time I roasted a chicken using this recipe, there were several things that were different, as noted below:
Marinate the chicken
Since I had more time the day before I planned to make the chicken, I marinated the bird overnight instead of for just several hours on the cooking day. This time, the chicken was in the marinade for about 21 hours and 20 minutes.
Roast chicken
For Step 2, I set up the baking tray with a roasting rack instead of crumpled foil balls to support the chicken.
In Step 4, I didn’t have any oil drippings to baste the chicken after the first 20 minutes, so I used two tablespoons of oil again. Even though there was enough during the remaining 30 minutes, it was hard to spoon any of it from the roasting pan with the rack in the way, so I used one tablespoon of oil each time during the last two occasions.
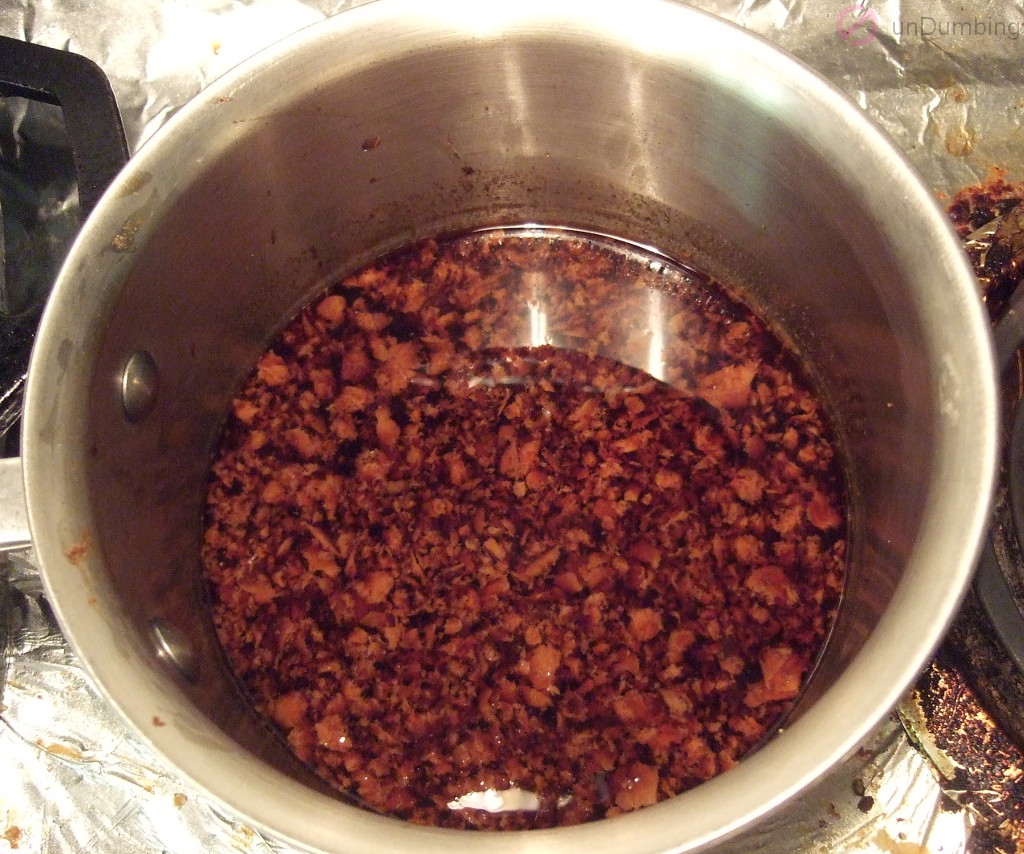
For Step 5, I estimated that it would take around 1 hour and 20 minutes to cook the chicken, so I started basting the skin with the sauce, that I had cooked for 6 minutes earlier, every 10 minutes after roasting the chicken for 50 minutes.
By the time I got to Step 6, the chicken had been roasting for 1 hour and 25 minutes, but the temperature had only reached 160 degrees Fahrenheit. After adding another 5 minutes, the chicken was at 175 degrees Fahrenheit, so I removed the chicken from the oven.

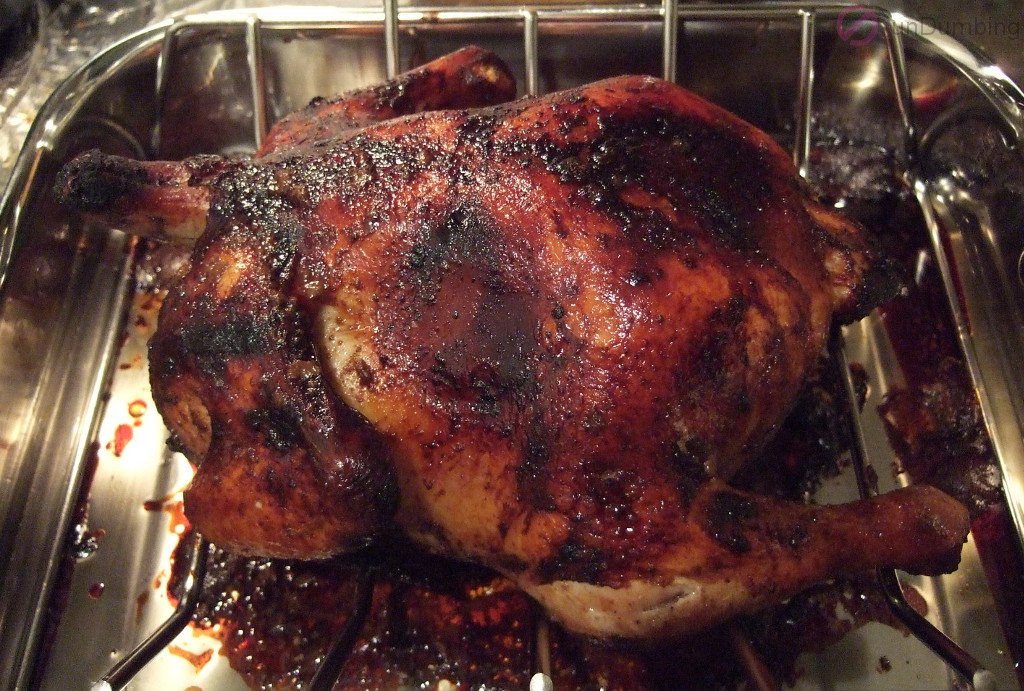
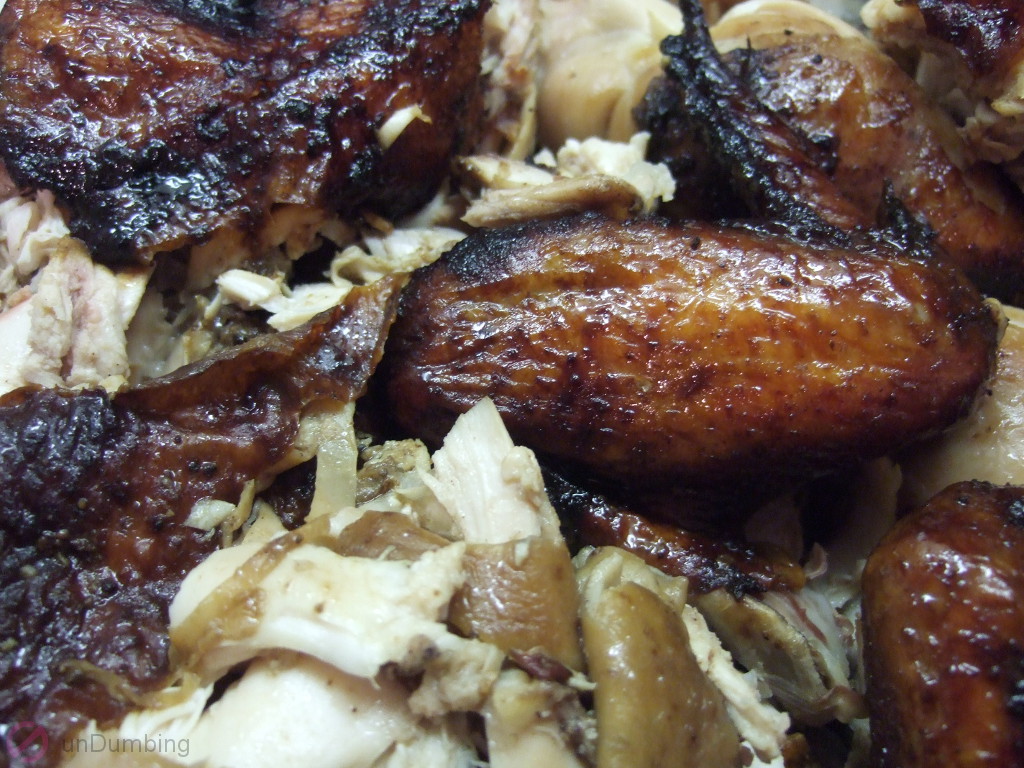
Time to Eat
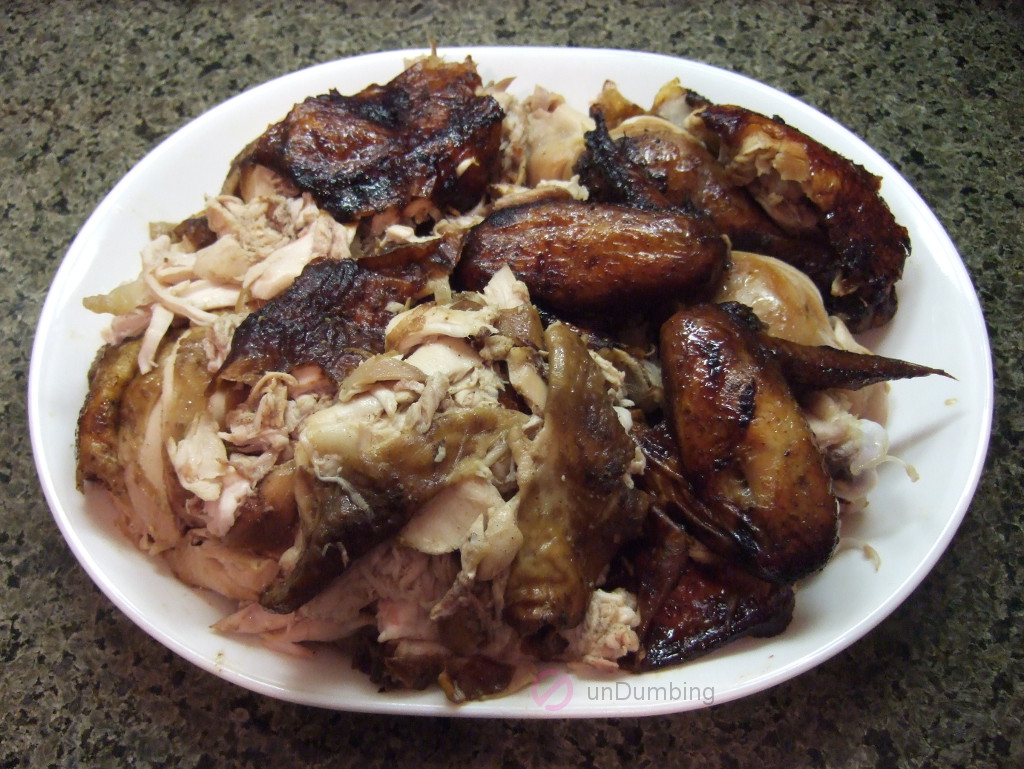
After resting the chicken for 25 minutes, I carved and plated it for dinner.
Recipe Rating
Below were the results of the recipe after the first try:
| Number of Ingredients | Effort (Low🤏, Medium🤏🤏, High🤏🤏🤏) | Cost per Serving (<$2💰, $2-5💰💰, >$5💰💰💰) | Taste (Not for me🤔, Trying Again🙂, Eating Regularly😋) |
|---|---|---|---|
| 7️⃣ | 🤏 | 💰💰 | 🙂 |
Though the chicken was tender, I waited too long to carve it and the meat became cold.
Second Try
For the fourth time referencing this recipe, not only did I want the chicken to be served warm, I also wanted to test the continuous improvement idea from the previous post for the basting sauce.
Ingredients to Use
With a chicken weighing 4.8 pounds, I maintained the measurements from the original recipe for everything except the basting sauce, including using 6 slices of ginger in the marinade.
For the basting sauce, I doubled the honey to 4 tablespoons.
Steps to Prepare
Since I couldn’t prepare the chicken overnight, I marinated it for 5 hours on the day of cooking. Also, most of the tweaks were done while and after roasting the chicken, as follows:
In Step 4, I didn’t have any oil drippings to baste the chicken during the first 40 minutes, so I used two tablespoons of oil every 20 minutes. After a total of 60 minutes of roasting, there were some drippings to baste with and I realized it was easier to spoon them up from the long side of the pan. However, I didn’t have enough from the pan, so I supplemented the drippings with one tablespoon of oil.
For Step 5, I had planned to roast the chicken for a total of 1 hour and 30 minutes, so I started basting the skin with the sauce, that I had cooked for 7 minutes earlier, every 10 minutes.
When I got to Step 6, the chicken had reached 185 degrees after 1 hour and 30 minutes, so I took it out of the oven without basting with the sauce a third time.
In Step 7, I was intending to carve the bird after 20 minutes, so the chicken wouldn’t be cold. Despite that, I decided to wait until after 25 minutes so I wouldn’t burn my hands while carving, since the chicken did reach a higher temperature than the previous time.
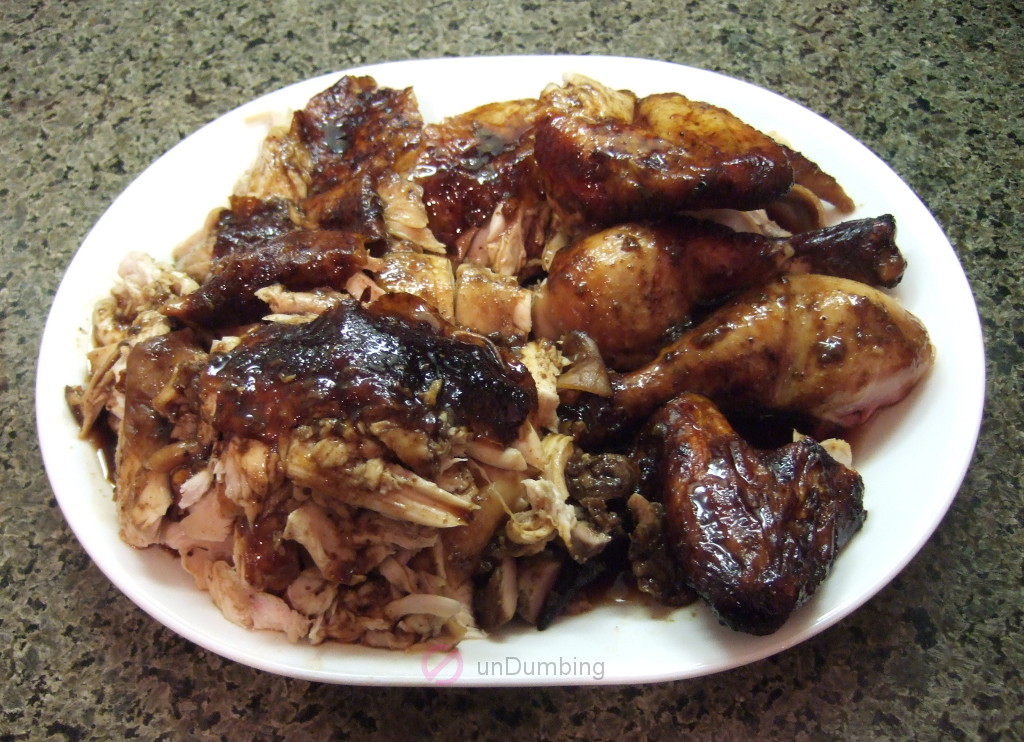
Finally in Step 8, I added the residual basting sauce and drippings to the chicken for more flavor.
Time to Eat
This time, I was anxious to find out whether the extra honey improved the taste of the chicken.
Recipe Rating
Below are the results of the recipe from the second attempt:
| Number of Ingredients | Effort (Low🤏, Medium🤏🤏, High🤏🤏🤏) | Cost per Serving (<$2💰, $2-5💰💰, >$5💰💰💰) | Taste (Not for me🤔, Trying Again🙂, Eating Regularly😋) |
|---|---|---|---|
| 7️⃣ | 🤏 | 💰 | 🙂 |
Not only was the tender chicken warm, it tasted better with the extra honey. Unfortunately, one of the drumsticks was slightly pink.
Because I don’t want any part of the chicken to be pink in the future, I will do the following next time:
Continuous Improvement
- Test the doneness in multiple areas of the legs.
In general, I try to conserve resources, but seeing how the roasting rack has made my cooking experience more enjoyable, I would tell my younger self the following:
Lesson for Dumber Self
- It’s okay to invest in tools to simplify your life.
What will you do now?
Next Step for You
- Learn more about roasting pans starting with an article, The 7 Best Roasting Pans of 2023, Tested and Reviewed, from The Spruce Eats website?
- Share your favorite recipe for roast chicken?
- Read another post on this site? (Go to the menu at the top of the page.)