
Two-Day Adventure to Make an Inexpensive and Outstanding Curry
Thanks to two recipes, I was able to create the most delectable Japanese chicken curry! Over two days, I used a total of 19 ingredients, the highest number for all the dishes I’ve ever made!
Below are links to more details, including photos:
My Story
One of my family members asked if a dish I had made before was curry, but it wasn’t. However, that question gave me an idea to search for a recipe for one.
Inspiring Recipe
I sorted through many curry recipes from around the world and landed on Bone-In Chicken Curry from Just One Cookbook. This website also had a recipe, How To Make Japanese Curry Roux, for this star ingredient. Making the roux from scratch allowed me to avoid the msg, artificial flavors, preservatives, etc. found in the curry sauce mixes sold in the stores.
First Try
After shopping at three places for many ingredients, including a couple of new ones for the kitchen cabinet (Japanese curry powder and mirin), I was ready to start the two-day endeavor.
Ingredients to Use
Using 3 3/4 pounds of chicken as the basis, I updated the measurements for the other ingredients as follows:
- 1 1/8 teaspoons of salt
- 1.9 pounds of onions
- .86 pound of potatoes
- 0.53 pound of carrots
- 6 cloves of garlic
- 1/2 cup of green peas
- 4 tablespoons + 2/3 teaspoon of oil
- 1/2 cup of Chinese rice wine
- 4 cups of chicken broth
- 1 cup of water
- 8 ounces of Japanese curry roux*
- 2 tablespoons + 1/2 teaspoon of mirin
- 2 tablespoons + 1/2 teaspoon of soy sauce
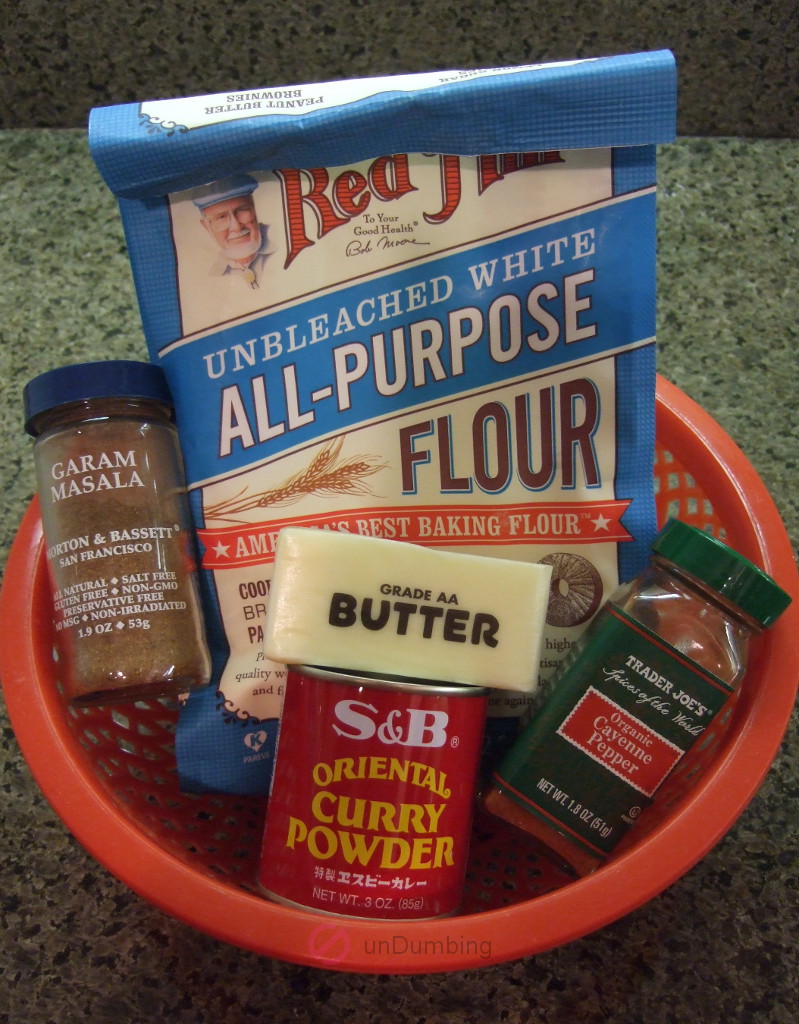
* Japanese curry roux
- 8 tablespoons of butter
- 3.99 ounces of all-purpose flour
- 4 1/2 tablespoons + 1/8 teaspoon of Japanese curry powder
- 1 tablespoon + 1/3 teaspoon of garam masala
- 1/2 teaspoon of cayenne pepper
For most of the ingredients, I targeted to include the same ratio increase as the amount of chicken over the original recipe, but what I ended up with was sometimes a little more and sometimes a little less, based on the closest amount that I could measure out on the manual scale in the store and with my measuring tools at home. As for the chicken broth, I used a little less than the ratio, since I didn’t want to buy another box only to have some left over.
For for the pepper, I just ground enough across both sides of the chicken pieces according to my preference.
Lastly, I substituted the ingredients as follows:
- Chicken drumsticks for chicken thighs
- Sea salt for kosher salt
- Rainbow pepper for black pepper
- White potato for Yukon gold
- Chinese rice wine (Shaohsing wine) for sake
- Salted butter for unsalted butter
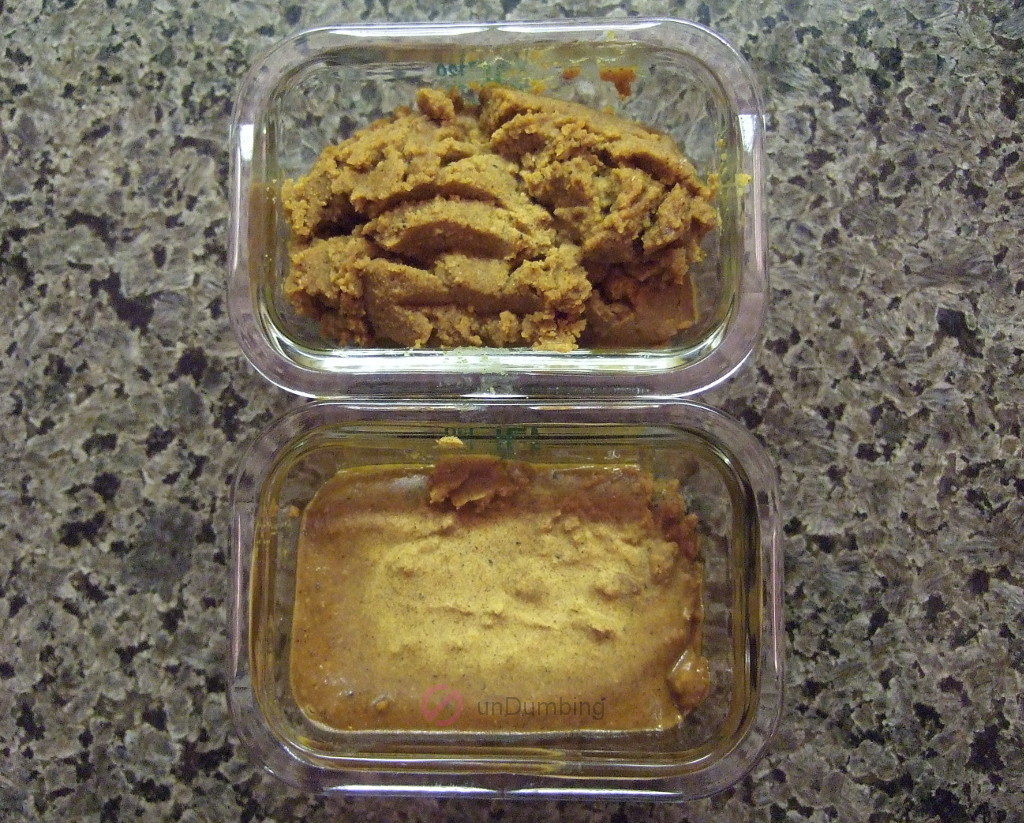
Japanese Curry Roux Ingredients
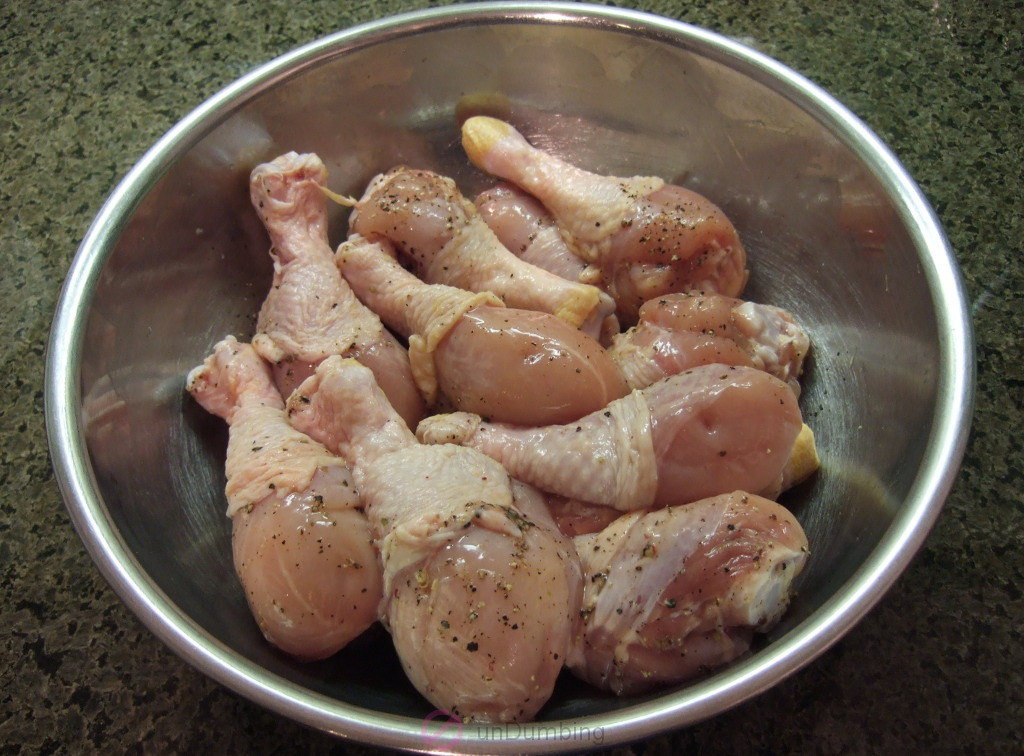
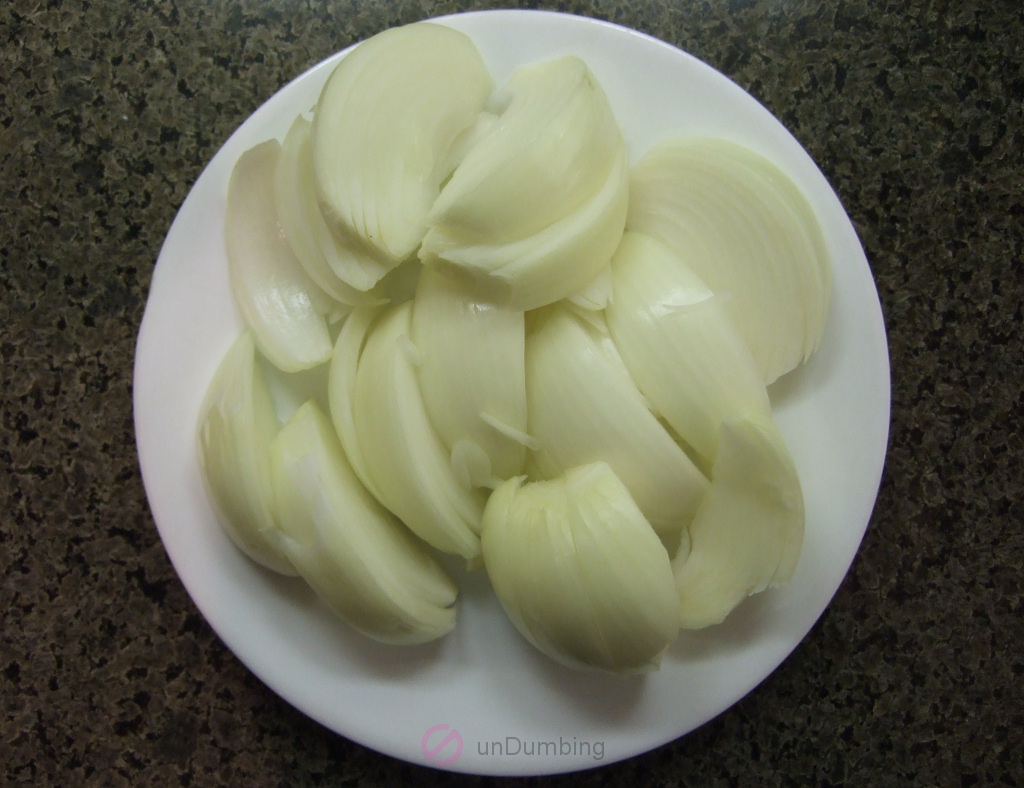
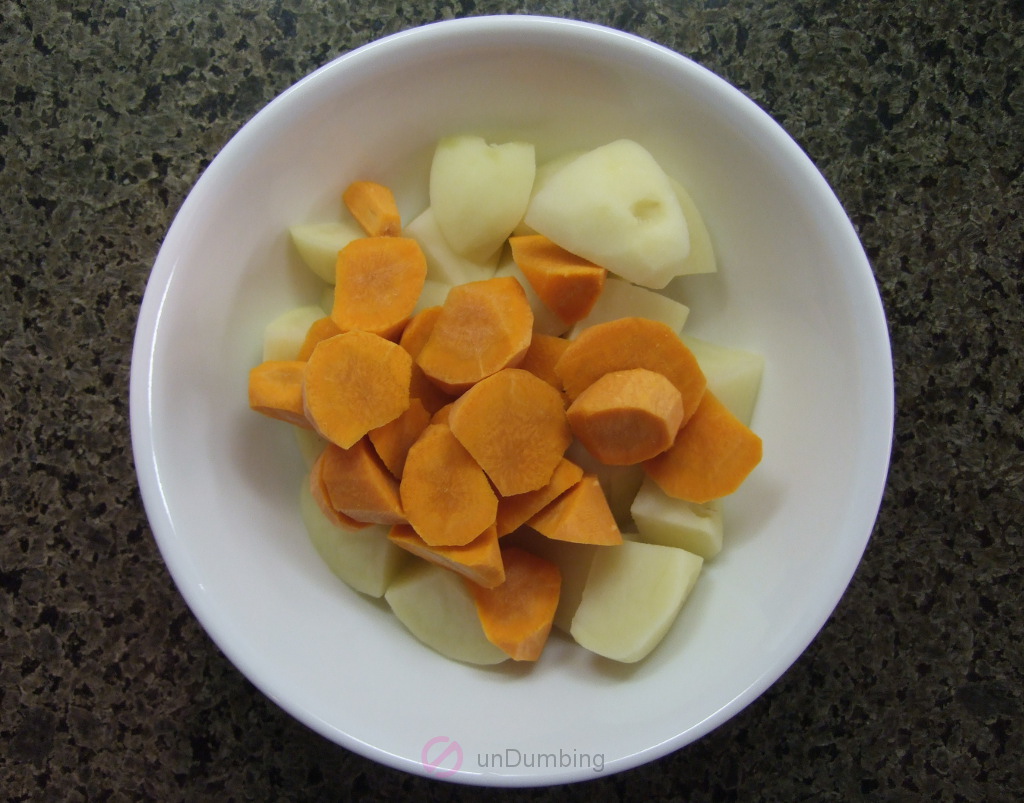
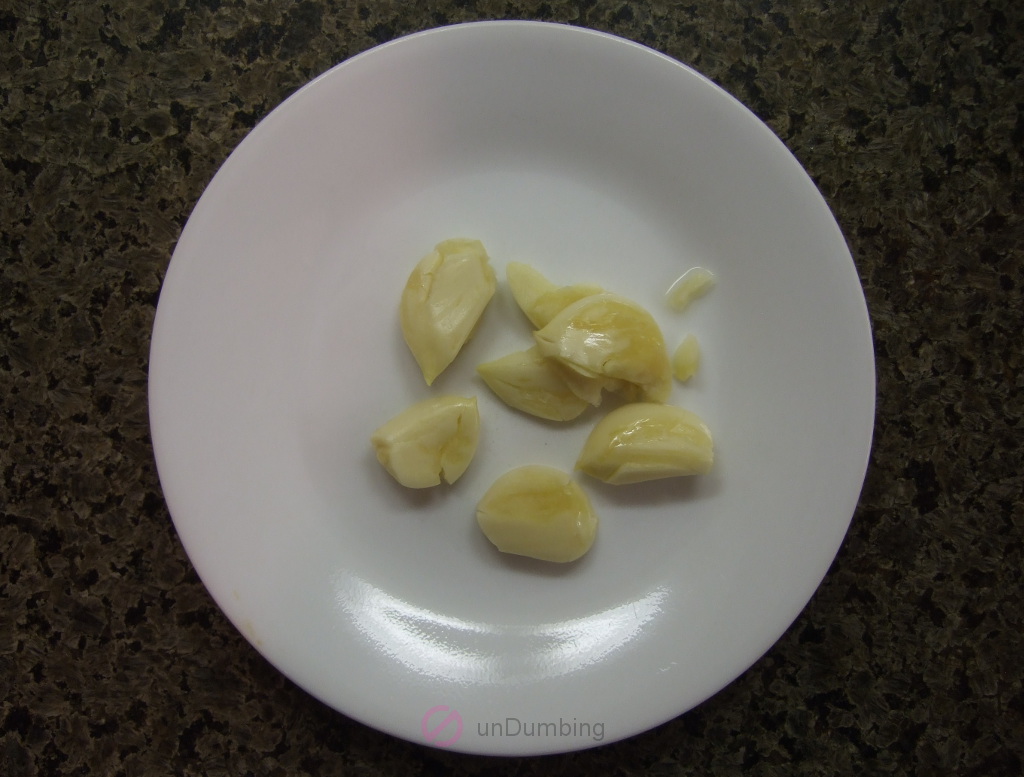
Curry Ingredients
Steps to Prepare
I tried to follow the steps in the recipes, but there are areas that I deviated on as follows:
Japanese Curry Roux
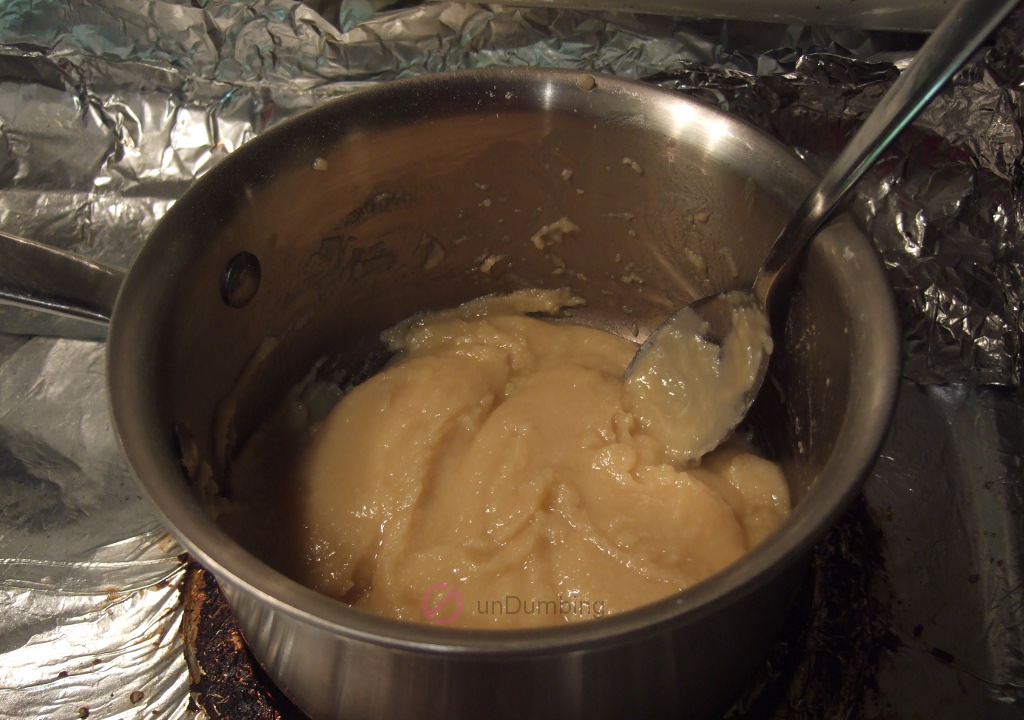
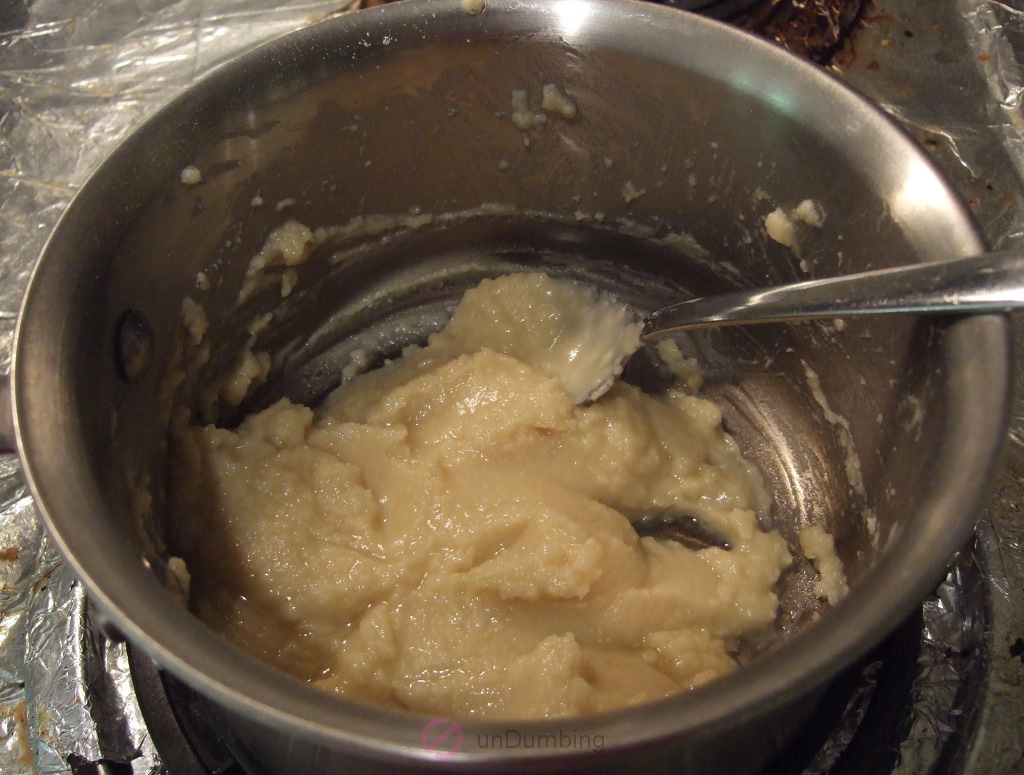
When it came to browning the roux, I used a spoon instead of a blunt-end wooden spatula to combine the butter and flour together, since that’s what I had. Next, I stopped cooking the mixture after 20 minutes, even though it didn’t turn golden brown yet, because it was getting late.
As for making the curry roux, I ended up stirring the spices together for more than 30 seconds to get the mixture even.
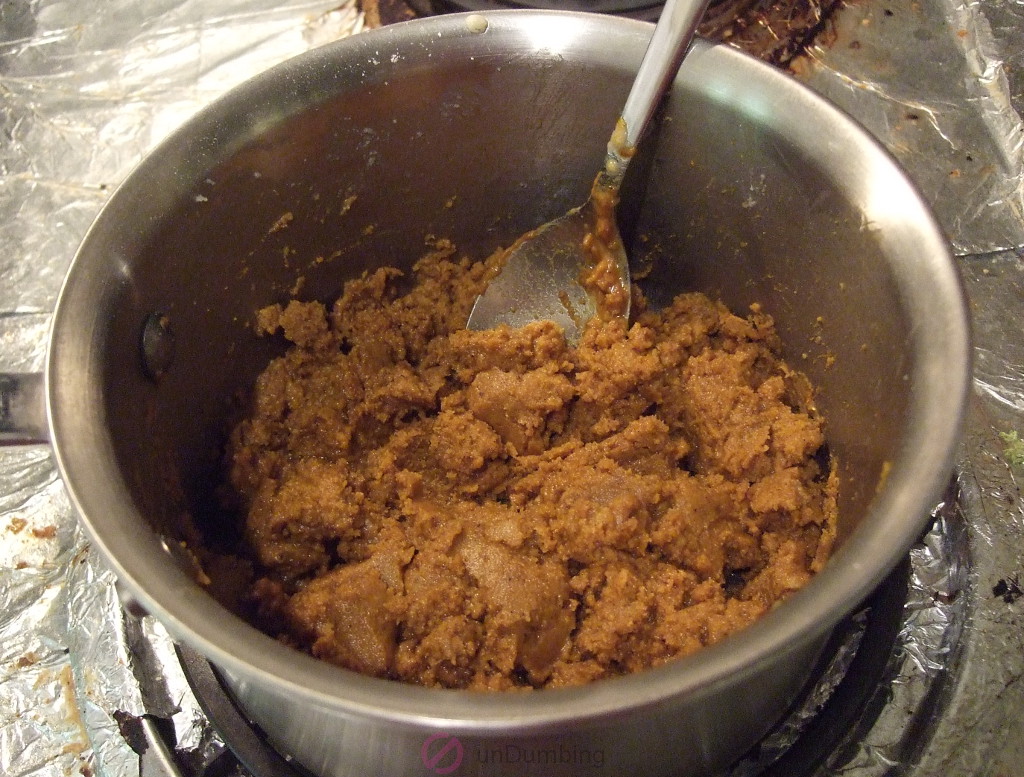
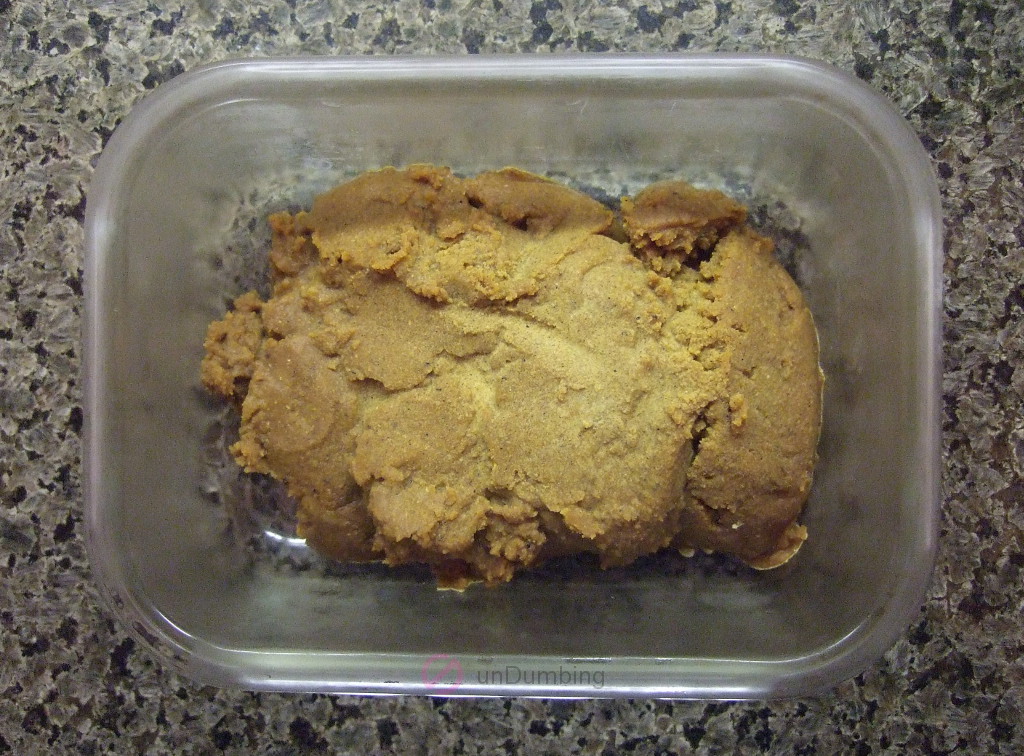
Lastly, to shape the roux, I poured the concoction into an unlined glass container since I didn’t have any parchment paper. On the next day, I just broke the block with a butter knife and used everything, so I didn’t have to cut it into small squares for storage.
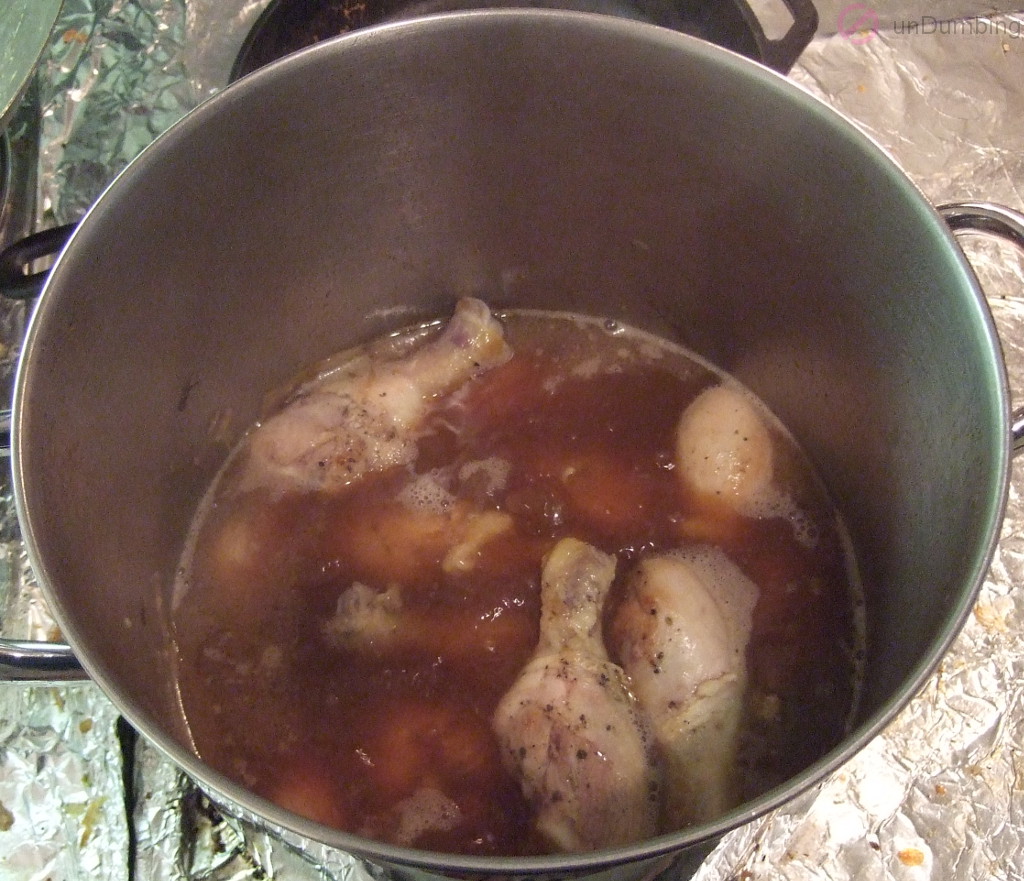
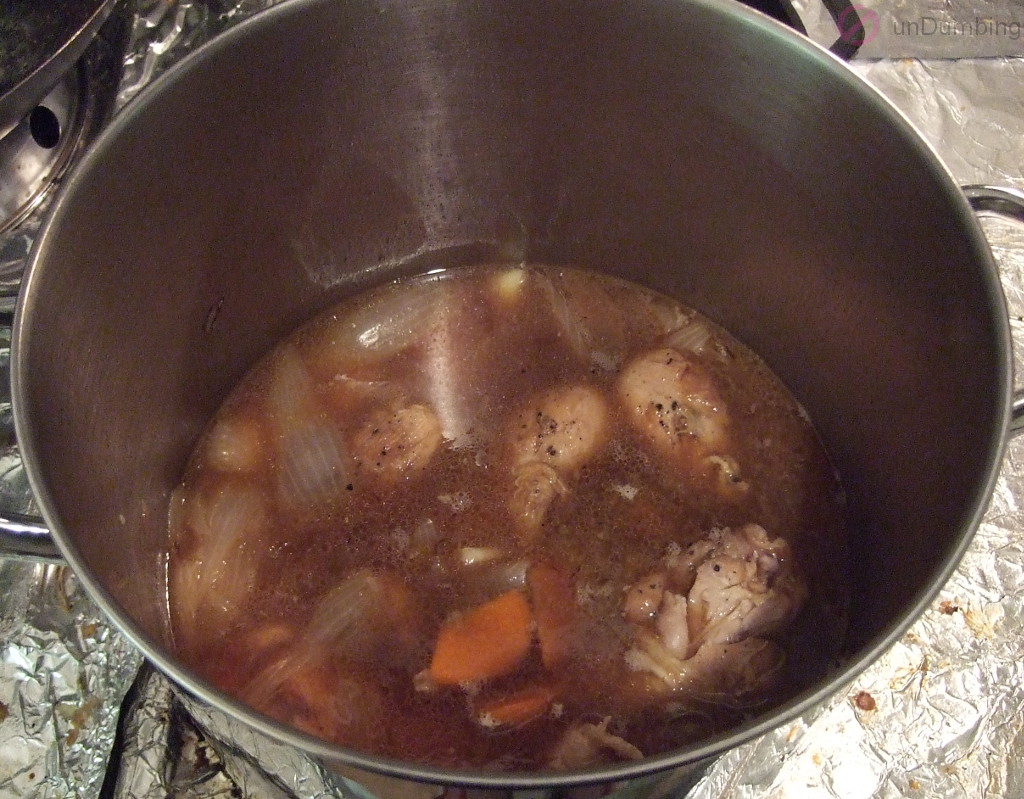
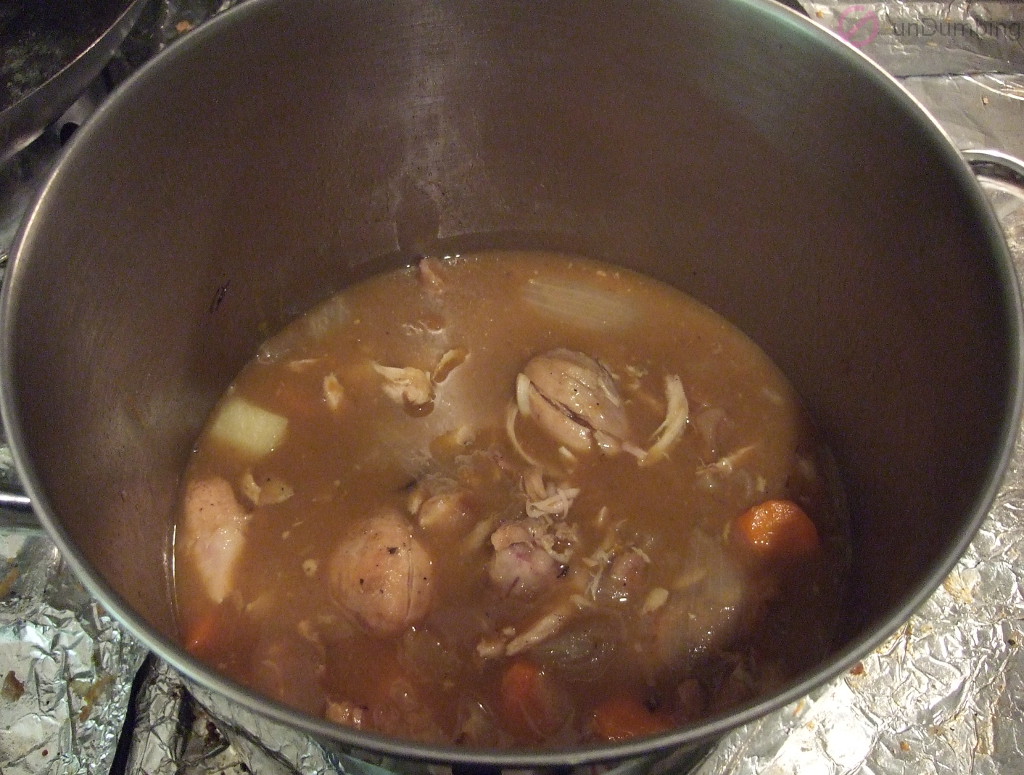
Curry
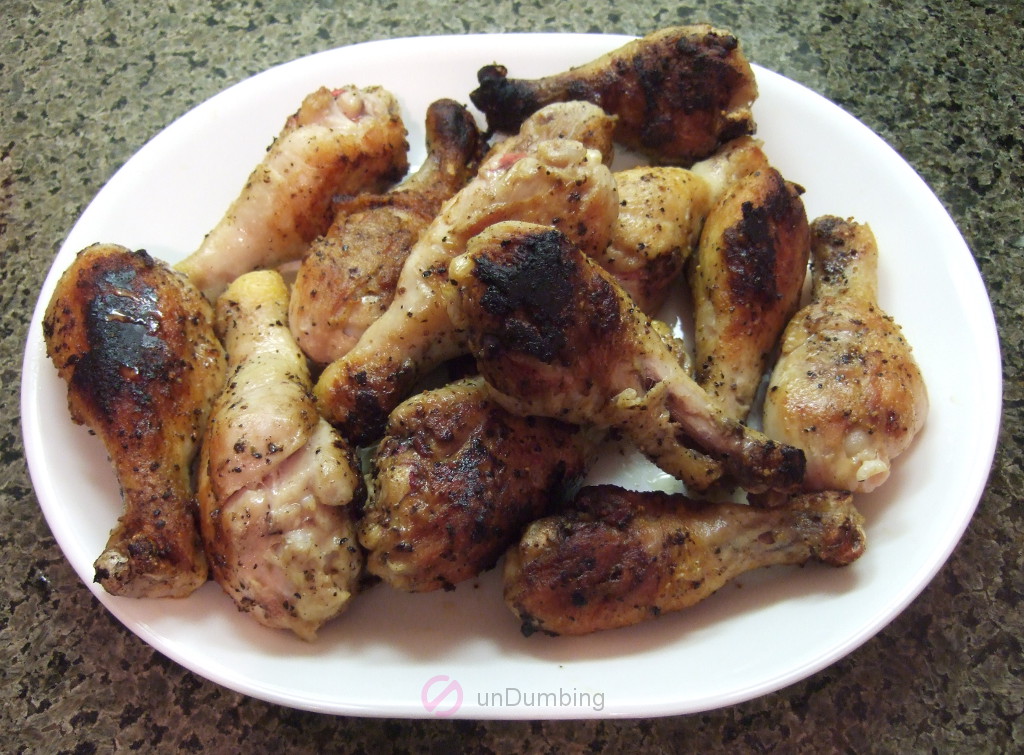
As part of the ingredient preparation, I minced the garlic with a knife before starting to snip the chicken with scissors instead of a knife in Step 1.
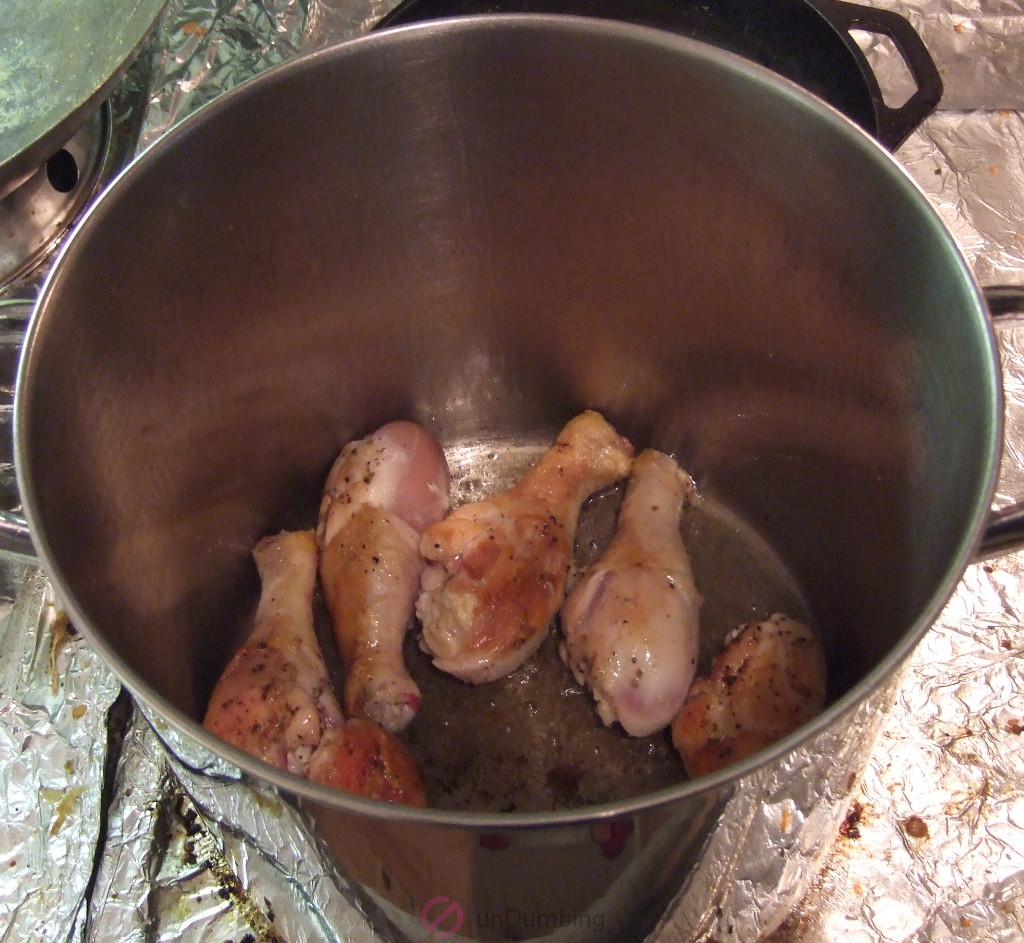
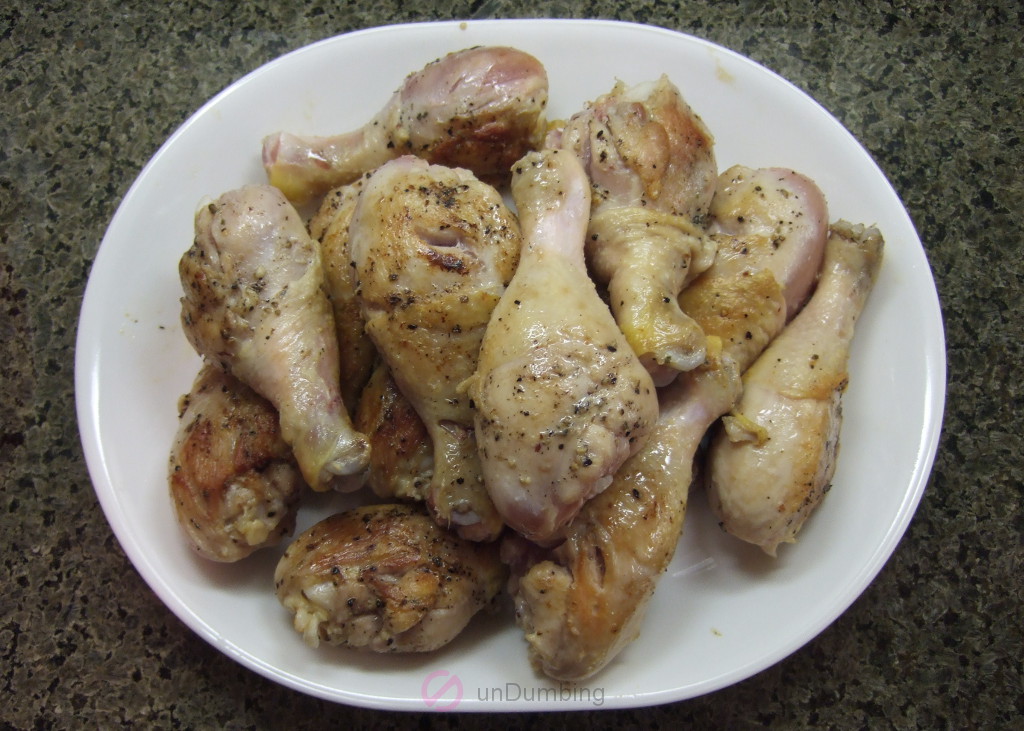
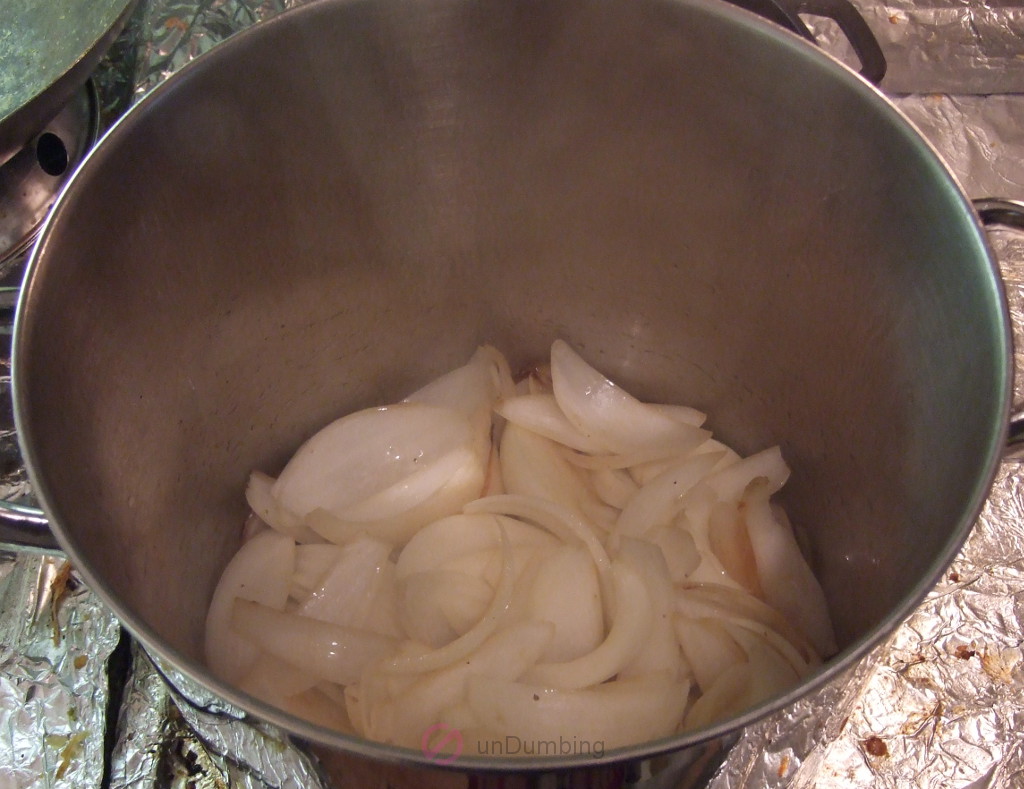
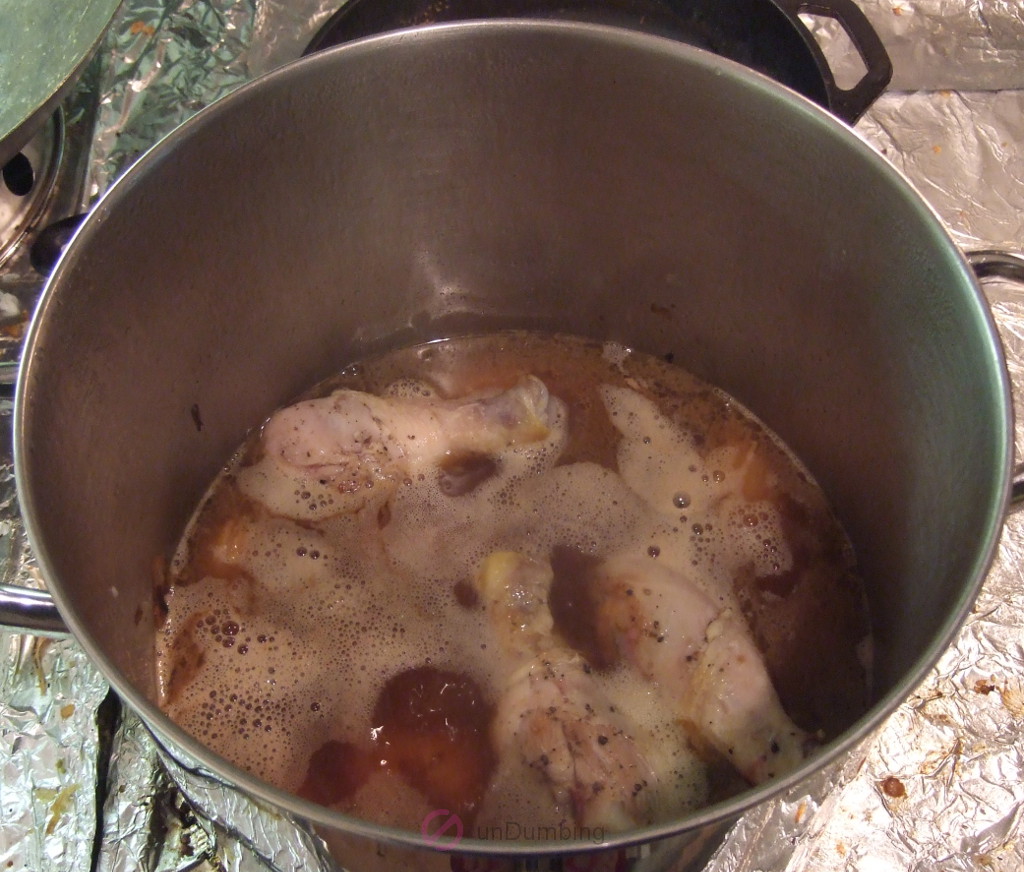
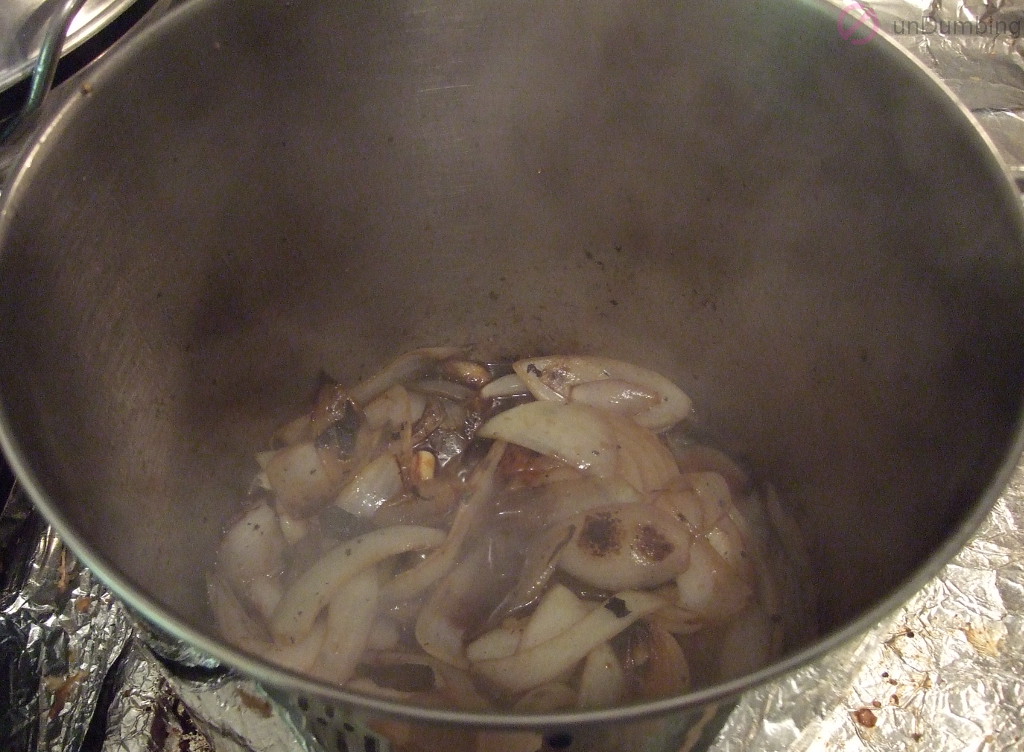
When it came to cooking the curry, I browned the first side of the chicken thighs for two minutes in Step 1. In Step 3, I coated the onion with the oil in the pot using a metal spoon instead of a wooden spoon/spatula. When I got to Step 12, I seasoned the curry with salt (1 tablespoon + 1/4 teaspoon + 1/8 teaspoon) after tasting it. Lastly in Step 13, I added the green peas, turned the stove to high heat because I was using frozen peas, and cooked the curry for another minute.
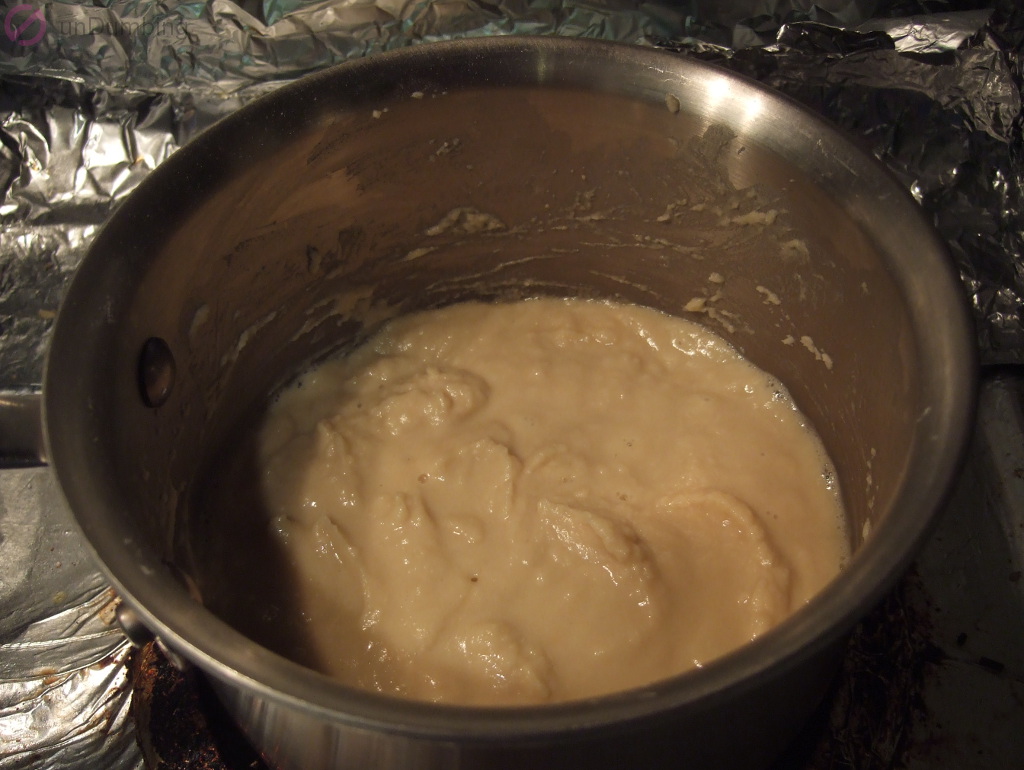
Japanese Curry Roux Photos

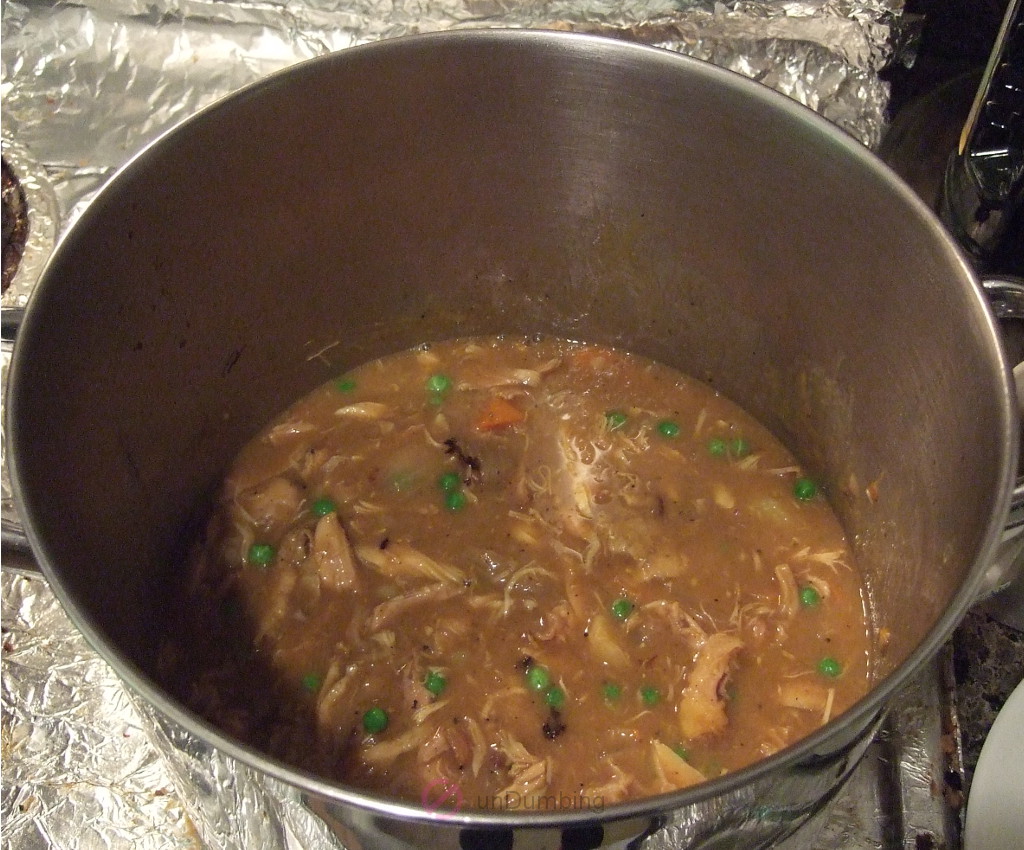
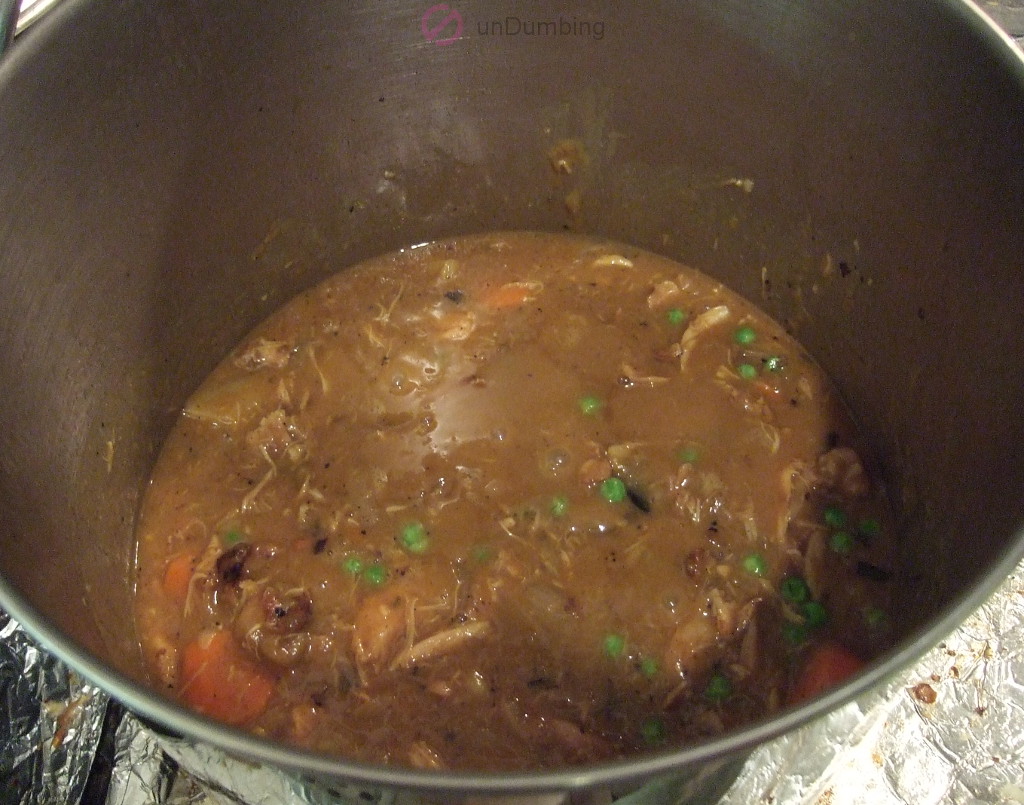
Curry Photos

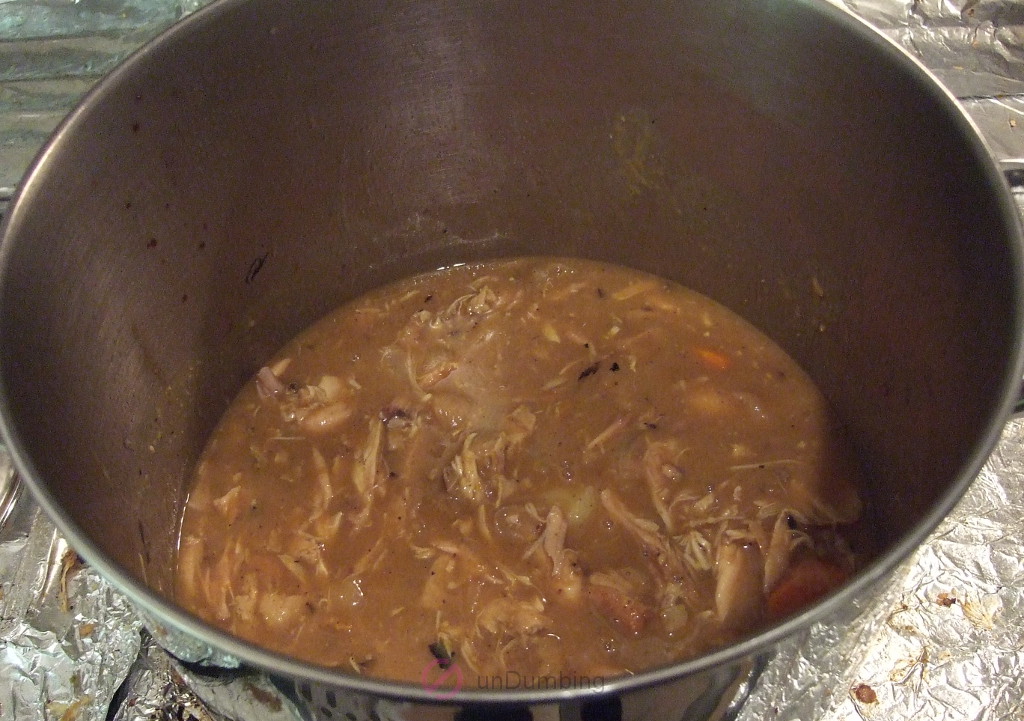
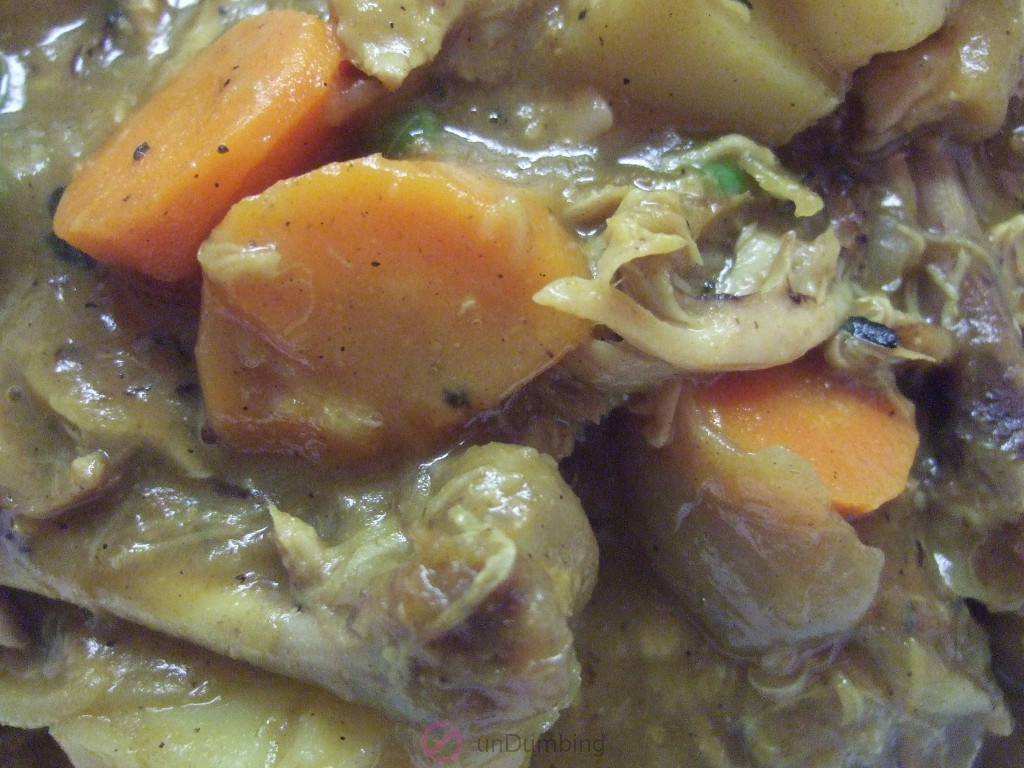
Time to Eat
When the chicken curry was finally done, it was time to see if all the work was worthwhile.
Recipe Rating
Below were the results of the recipe after the first try:
| Number of Ingredients | Effort (Low🤏, Medium🤏🤏, High🤏🤏🤏) | Cost per Serving (<$2💰, $2-5💰💰, >$5💰💰💰) | Taste (Not for me🤔, Trying Again🙂, Eating Regularly😋) |
|---|---|---|---|
| 1️⃣9️⃣* | 🤏🤏 | 💰 | 🙂 |
The curry sauce had a good consistency, the vegetables and chicken were tender, and everything was flavorful. My husband thought this recipe was up there with the baked chicken wings that I made a few months ago!
Second Try
For the second try, my goal was to tweak the process, so hopefully I would end up with a golden brown color in the cooked roux, browned chicken, and sautéed onions. In addition, I wanted more vegetables in the curry.
Ingredients to Use
This time I had 3 1/4 pounds of chicken, so the ingredients that I updated from the first try were planned as follows:
- 1/2 teaspoon + 1/4 teaspoon + 1/8 teaspoon of salt
- 1 pound 13 1/4 ounces of onions
- 1.02 pounds of potatoes (For the same proportion as the original recipe, it would’ve been 12 ounces.)
- .87 pound of carrots (For the same proportion as the original recipe, it would’ve been 7 ounces.)
- 6 cloves of garlic
- 1/2 cup of green peas
- 3 tablespoons + 1/2 tablespoon + 1/8 teaspoon of oil
- 1/2 cup of Chinese rice wine (See below for what I accidentally used.)
- 3 2/3 cups of chicken broth
- 1 cup of water
- 7 ounces of Japanese curry roux (Same as the original recipe.)
- 1 tablespoon + 1/2 tablespoon + 2/3 teaspoon + 1/4 teaspoon of mirin (See below for what I actually used.)
- 1 tablespoon + 1/2 tablespoon + 2/3 teaspoon + 1/4 teaspoon of soy sauce
Steps to Prepare
During this round, I did almost the same thing as the first try, with the following differences:
Japanese Curry Roux
Attempting to make the roux more of a golden brown color, I increased the power of the stove and cooking time from low to medium low heat and 20 to 25 minutes, respectively. Also, after adding the spices, I cooked and stirred the mixture for 2 minutes instead of only 30 seconds, so that everything was blended together.
Curry
When preparing the ingredients in Step 3, I cut the potatoes into 16 pieces instead of 8, so the chunks remained small, since I had purchased larger spuds this time.
When I got to Step 1 and 2 of the cooking section, I focused on getting golden chicken on both sides and ended up browning each side for more than two minutes each.
In Step 4, I sautéed the onion wedges until they were tender and caramelized, but since they were smoking, I added the mirin. Soon, I realized that what I should’ve poured in was the Shaohsing Chinese rice wine. I must’ve mixed up the two Japanese names, sake and mirin, when I was reading the recipe in the midst of trying to get the smoke down.
Because of the mix-up in Step 4, I added the Shaohsing Chinese rice wine in step 5, but only in the originally planned for the mirin.
Finally, when I got to Step 13, I added the green peas and cooked them for another minute on medium instead of high heat. Since the curry was already thick, I didn’t want to risk burning it.
Japanese Curry Roux Photos
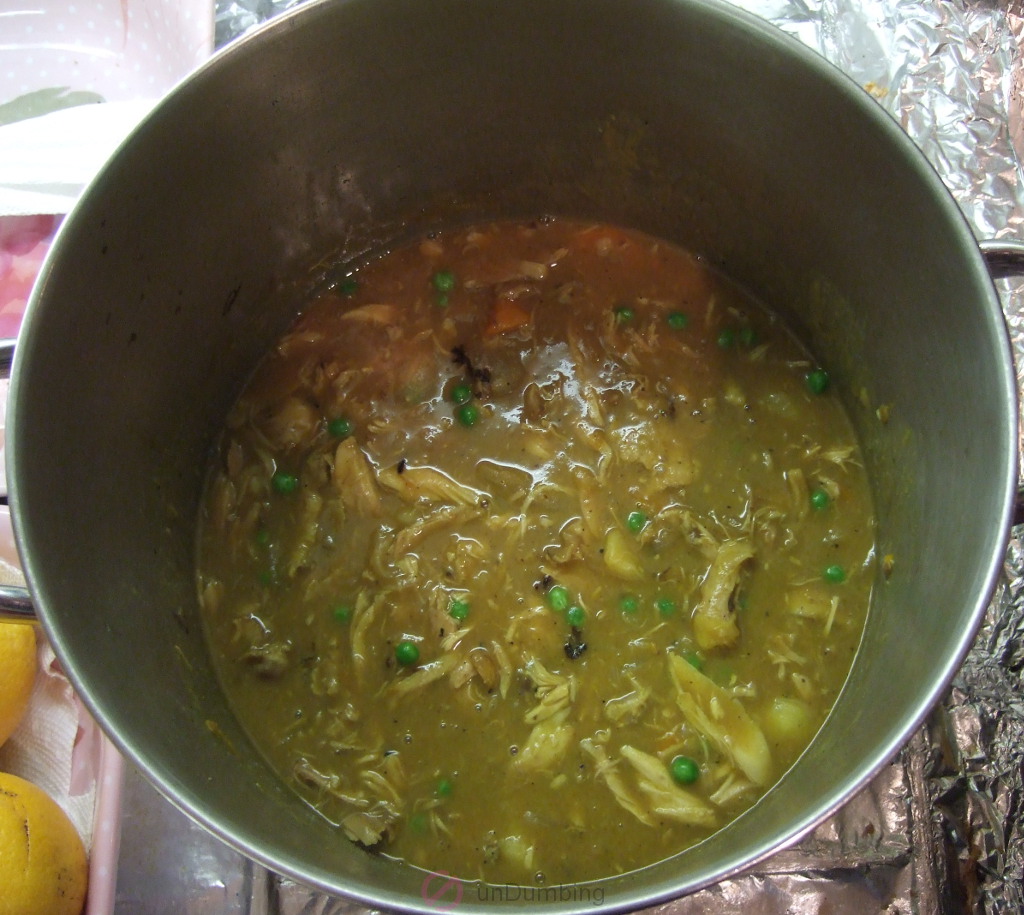
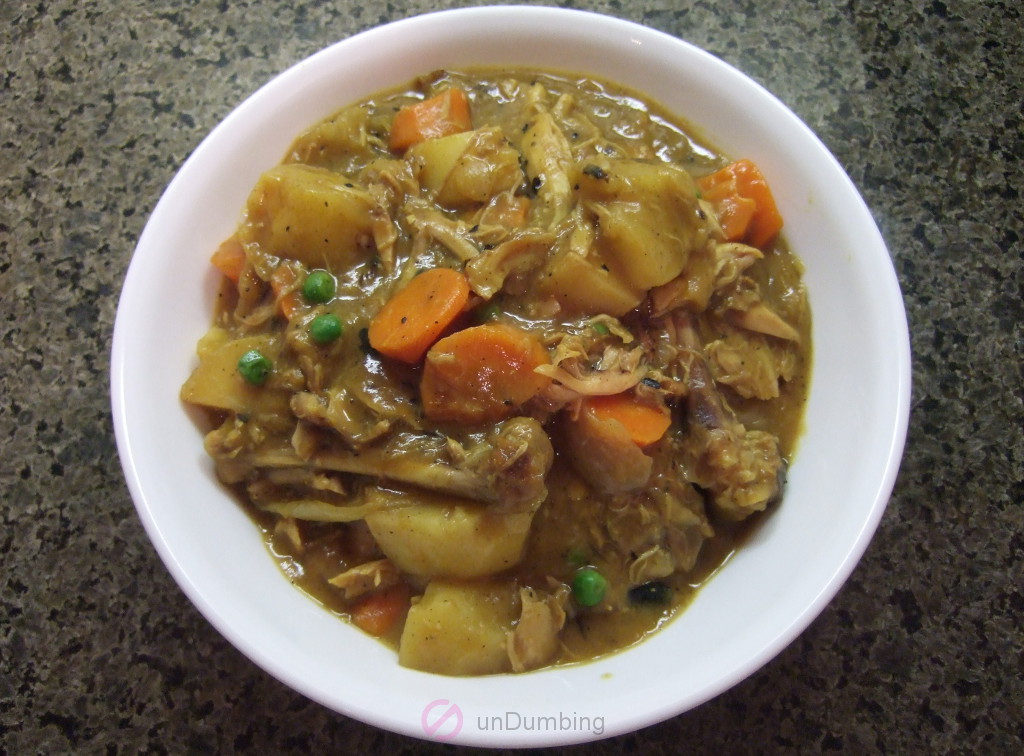
Curry Photos
Time to Eat
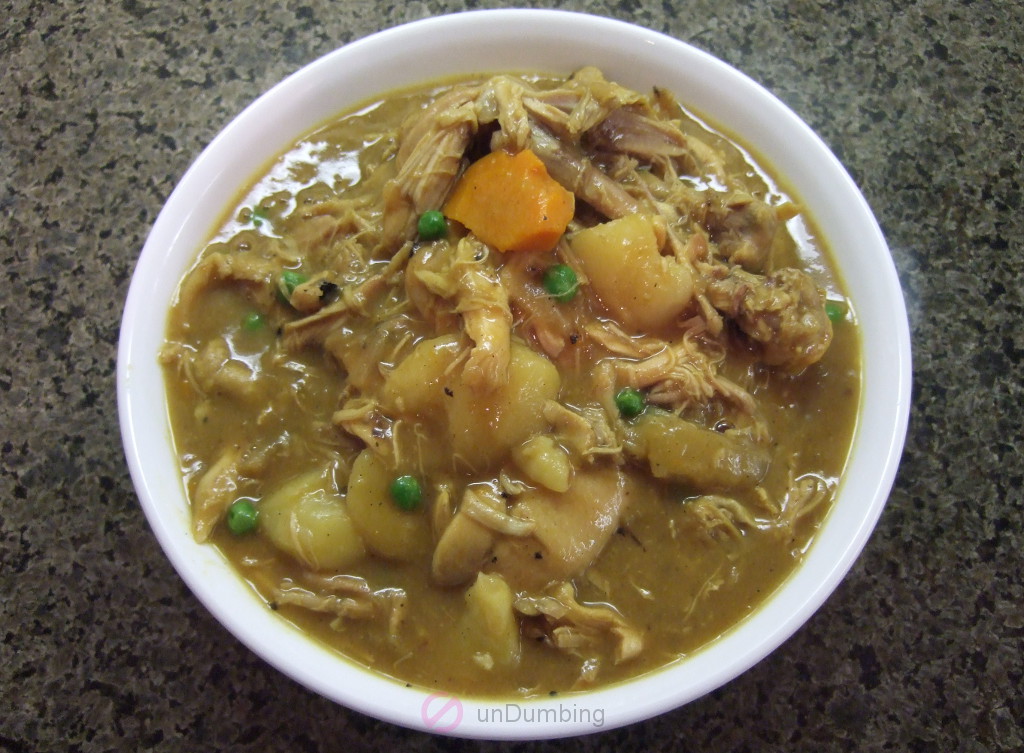
With the extra vegetables in the second version, the curry certainly looked heartier than before:
Recipe Rating
Below are the results of the recipe from the second try:
| Number of Ingredients | Effort (Low🤏, Medium🤏🤏, High🤏🤏🤏) | Cost per Serving (<$2💰, $2-5💰💰, >$5💰💰💰) | Taste (Not for me🤔, Trying Again🙂, Eating Regularly😋) |
|---|---|---|---|
| 1️⃣9️⃣* | 🤏🤏 | 💰 | 😋 |
Even with the confusion between the two rice wines, the curry was still very tasty. This version was sweeter probably due to the large amount of mirin and not too salty since I didn’t add any salt at the end. Also, the kick from cayenne pepper was still there.
My family had multiple servings and one member liked the caramelization of the chicken.
Lastly, a nice bonus was that the chicken was 25% cheaper this time.
Since both versions of the chicken curry were hits, next time I will experiment with one of the common add-ons listed on the recipe as follows:
Continuous Improvement
- Add honey.
After making a couple batches of chicken curry, I learned the following:
Lesson for Dumber Self
- A pot of curry can be healthy, tasty, and affordable!
What will you do now?
Next Step for You
- Take a challenge to create your own pot of curry using the Bone-In Chicken Curry and How To Make Japanese Curry Roux recipes from Just One Cookbook?
- Share your favorite version of this dish?
- Read another post on this site? (Go to the menu at the top of the page.)