
Simple Wine-flavored Chicken but What Happened to the Skin?
I tried a recipe that resulted in moist baked chicken thighs that was full of wine flavor, but the skin wasn’t as crispy as I had hoped. With this dish using just several inexpensive ingredients, I think it’s worthwhile to experiment with it some more.
Below are some links to more details, including photos:
My Story
After cooking Hainanese chicken rice, I still had some chicken thighs left, so I went out to the internet for ideas.
Inspiring Recipe
The recipe that I found was from Omnivore’s Cookbook, the same website that I got the recipe to cook the Hainanese chicken rice referenced above.
First Try
The recipe that I selected for this cooking venture was 5-Ingredient Baked Chicken Thigh. With all the ingredients already at home, I was ready to begin!
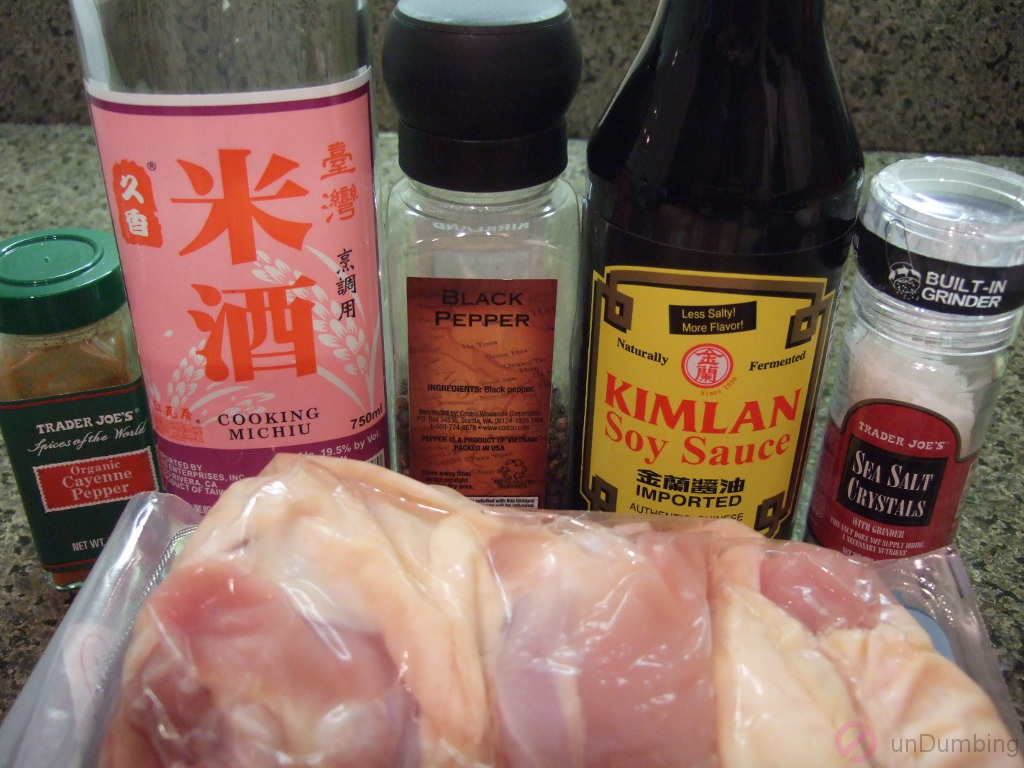
Ingredients to Use
With eight pieces of skin-on bone-in chicken thighs available, as needed per the recipe, I didn’t have to modify the measurements for the rest of the ingredients. The only change that I made was on the type of rice wine to use. Since I didn’t have any Japanese sake, I went with the Chinese cooking rice wine instead.
Steps to Prepare
For the instructions, I made some small modifications to steps 1, 3, and 5.
In step 1, I used a conventional instead of a convection oven since that’s what I had.
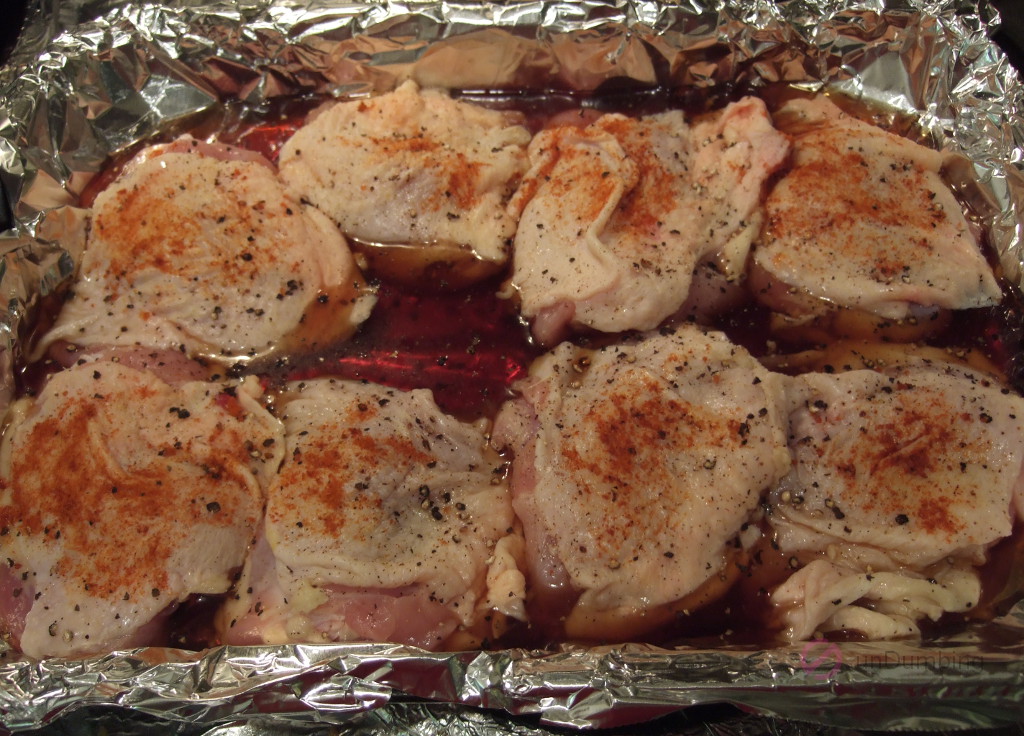
For step 3, I used a baking pan instead of a baking dish since I didn’t have the latter, though it was a little too small to keep each piece of chicken from touching and/or overlapping another. Also, I combined the rice wine and soy sauce in a measuring cup before pouring the liquid into the baking pan since the two items were easier to mix in a cup.
Lastly, for step 5, I baked the thighs for about 30 minutes, but didn’t wait for the skin to be all crispy because I was afraid that the meat would overcook.
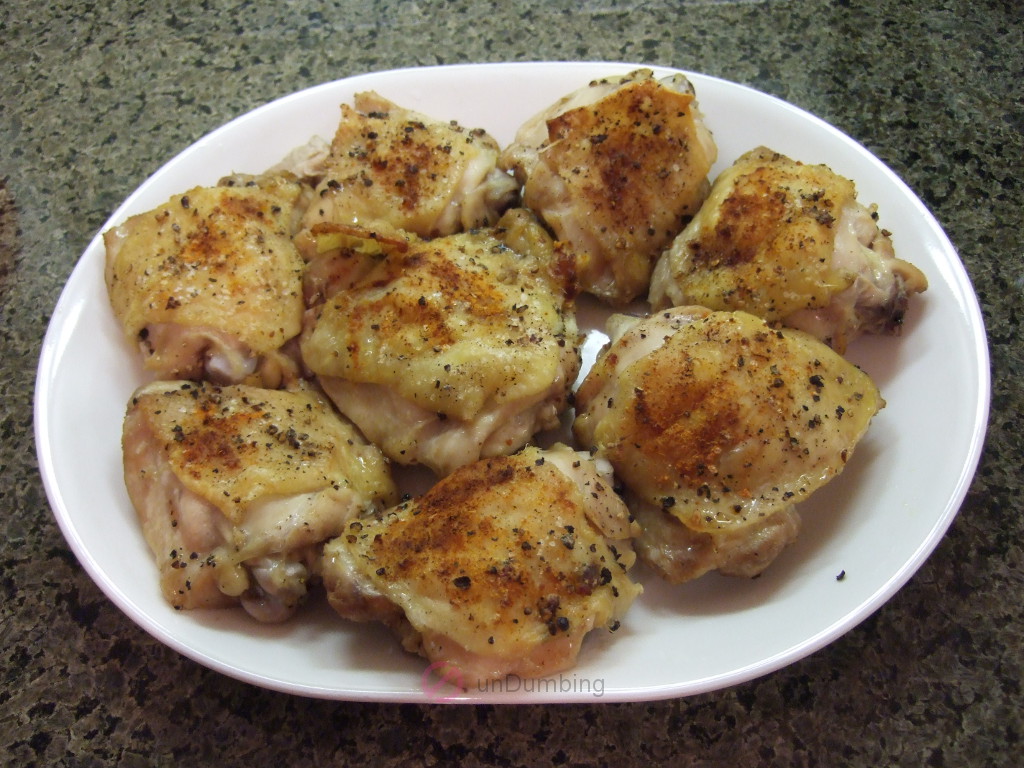
Time to Eat
Even though the cayenne pepper didn’t easily sprinkle evenly from the measuring spoon, I still couldn’t wait to try the chicken thighs!
Recipe Rating
Below were the results of the recipe after the first attempt:
| Number of Ingredients | Effort (Low🤏, Medium🤏🤏, High🤏🤏🤏) | Cost per Serving (<$2💰, $2-5💰💰, >$5💰💰💰) | Taste (Not for me🤔, Trying Again🙂, Eating Regularly😋) |
|---|---|---|---|
| 6️⃣* | 🤏 | 💰 | 🙂 |
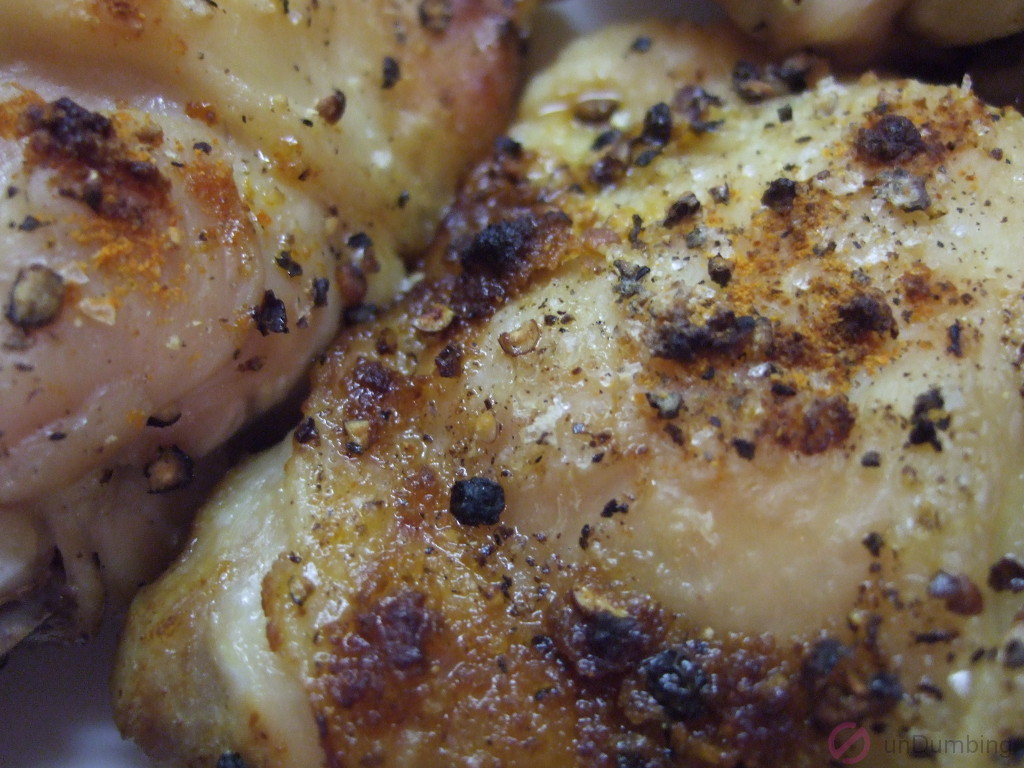
After biting into a piece of chicken, I found the meat to be soft. However, the skin was only a little bit crispy with most of it chewy.
Second Try
The goal of the second attempt was to have chicken thighs with crispier skin that’s more evenly covered with cayenne pepper.
Ingredients to Use
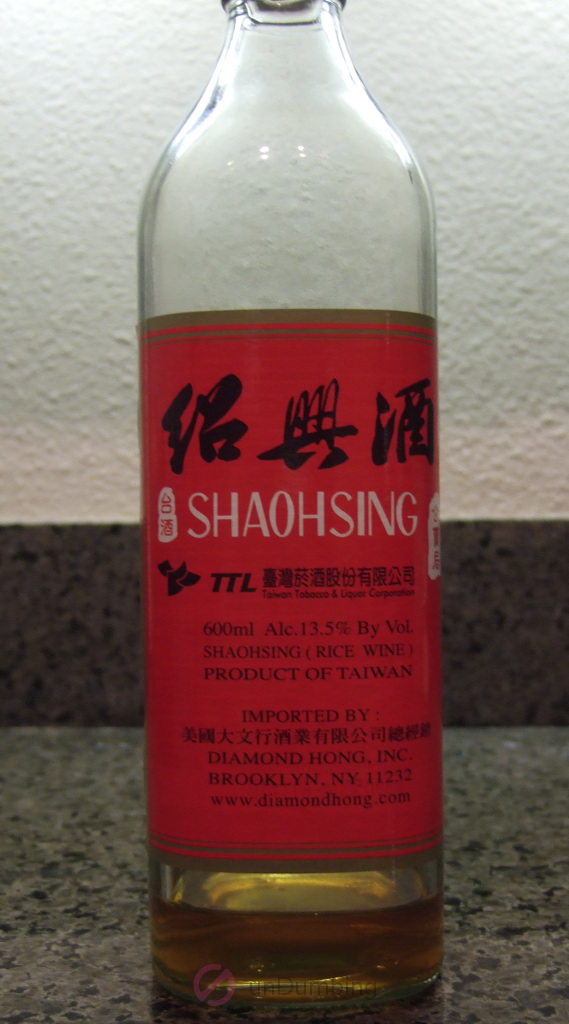
This time around, I again didn’t buy Japanese sake, so I used a Chinese rice wine instead. However, since I didn’t have any more cooking rice wine, I used the Shaohsing (Shaoxing) rice wine that I had.
Steps to Prepare
When it came to the process, I tweaked steps 3 and 4.
For step 3, I used a baking sheet instead of a baking pan since it had more room to spread the chicken pieces out on.
As for step 4, I transferred the cayenne pepper to a bigger spoon, so I could better control the amount that I sprinkled onto the chicken thighs.
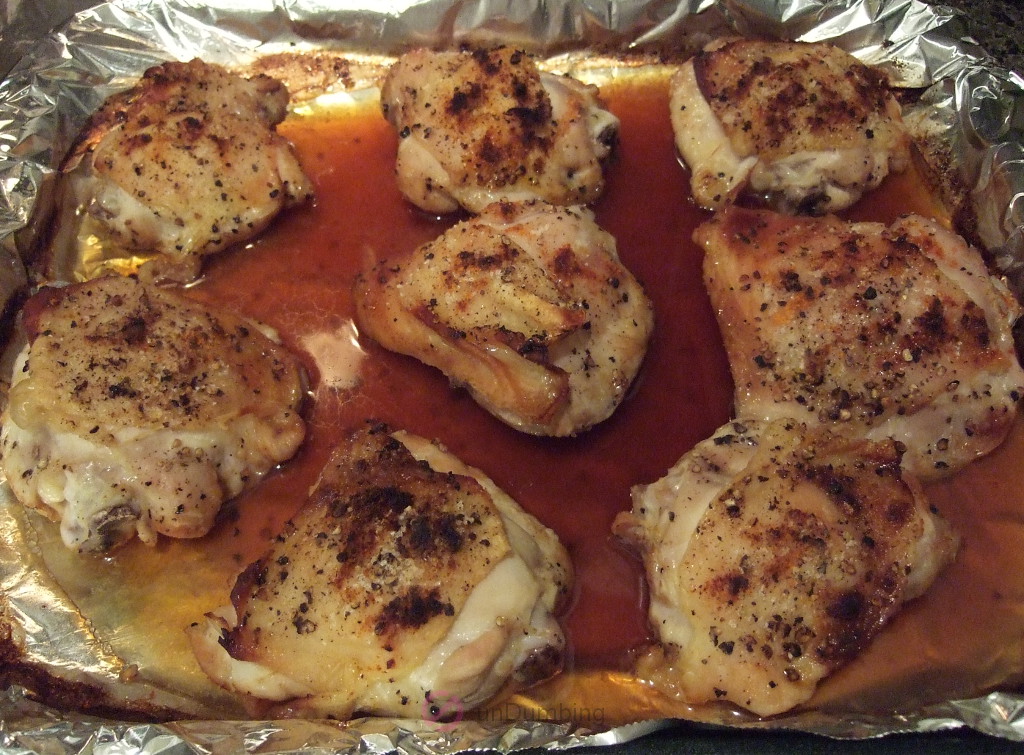
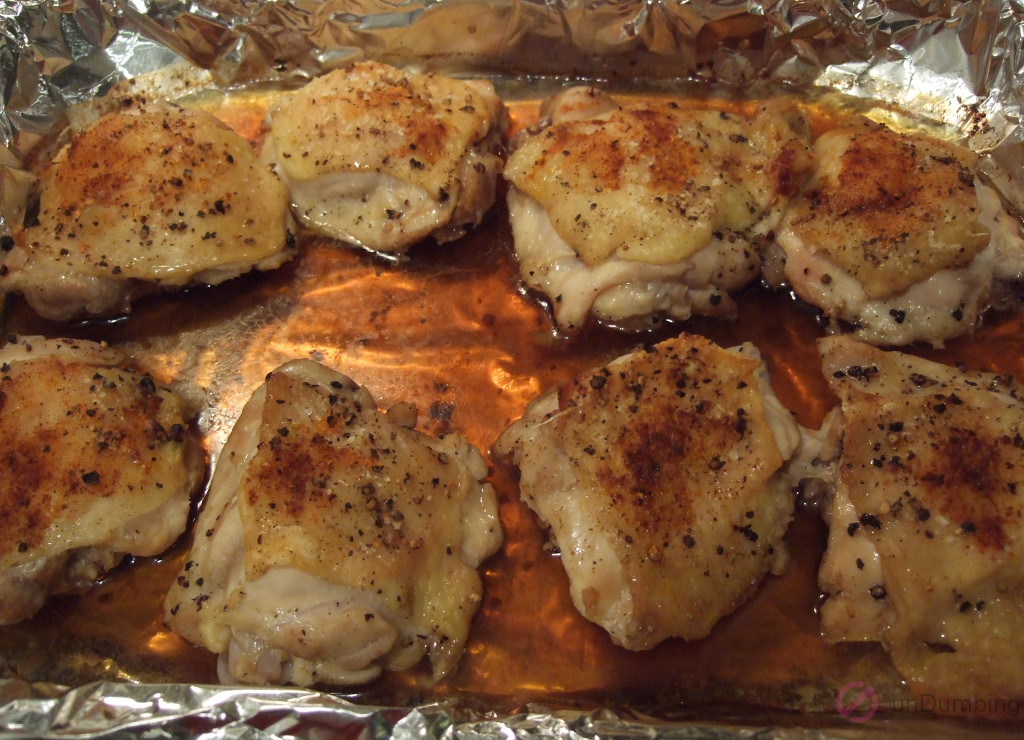
Time to Eat
After the second batch of chicken thighs were done, they looked drier. Could the skin be crispier?
Recipe Rating
Below are the results of the recipe from the second attempt:
| Number of Ingredients | Effort (Low🤏, Medium🤏🤏, High🤏🤏🤏) | Cost per Serving (<$2💰, $2-5💰💰, >$5💰💰💰) | Taste (Not for me🤔, Trying Again🙂, Eating Regularly😋) |
|---|---|---|---|
| 6️⃣* | 🤏 | 💰 | 🙂 |
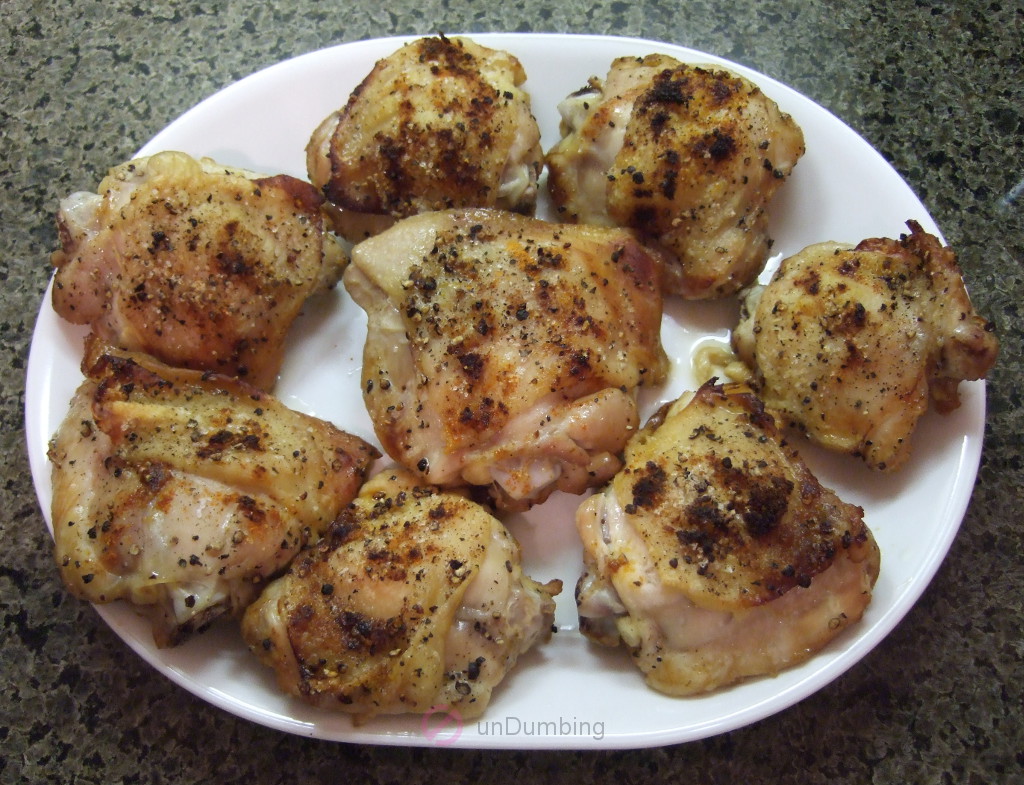
As shown in the chart above, the taste rating didn’t change. However, I did enjoy the flavor of the chicken from the new rice wine. Also, although the skin was a little salty, it was not as chewy this time!
Because I still need to improve the crispiness of the chicken skin, I’ll do the following next time to see if it’ll help:
Continuous Improvement
- Turn on the broiler for five minutes after the chicken is done baking.
Though my journey towards crispy chicken skin isn’t over, I did reflect on what has happened so far. As a result, the current lesson for this situation is as follows:
Lesson for Dumber Self
- Keep racking up cooking hours! (Without my year or so of experience using the oven broiler to brown Hamachi collar after baking it, it wouldn’t have occurred to me to try it for chicken skin. Wish me luck!)
What will you do now?
Next Step for You
- Try the 5-Ingredient Baked Chicken Thigh recipe from the website, Omnivore’s Cookbook?
- Share your secret on how to make the chicken skin crispy?
- Read another post on this site? (Go to the menu at the top of the page.)